 Kia Sorento: Oil Seal Replacement
Second Generation XM (2011-2026) / Kia Sorento XM 2011-2026 Service Manual / 4 Wheel Drive (4WD) System / Transfer Assembly / Oil Seal Replacement
[Right side]
| 1. |
Remove the front muffler. (Only gasoline 3.3)
(Refer to Engine Mechanical System - "Front Muffler ")
|
| 2. |
Remove the driveshaft assembly. (RH side)
(Refer to Driveshaft and axle - "Front Driveshaft ")
|
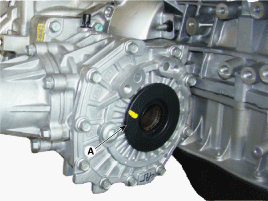
| 3. |
Remove the dust cover (A).
|
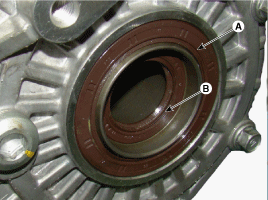
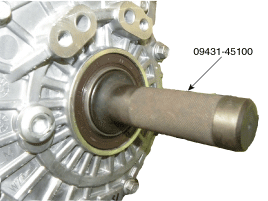
| 4. |
Remove the oil seal (A, B).
|
| 5. |
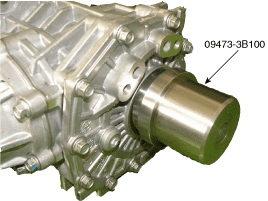
Install the oil seal with special service tools.
|

| 6. |
Install the new dust cover (A).
|
| 7. |
Add to transfer fluid.
(Refer to 4 Wheel Drive System - "Transfer Fluid")
|
| 8. |
Install the drive shaft assembly. (RH side)
(Refer to Driveshaft and axle - "Front Driveshaft ")
|
| 9. |
Install the front muffler. (Only gasoline 3.3)
(Refer to Engine Mechanical System - "Front Muffler ")
|
[Left side]
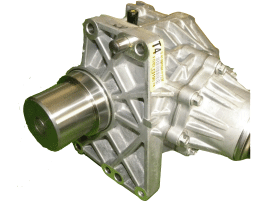
| 1. |
Remove the transfer assembly from the transaxle assembly.
(Refer to Transfer Assembyl - "Front Wheel Transfer Assembly")
|
| 2. |
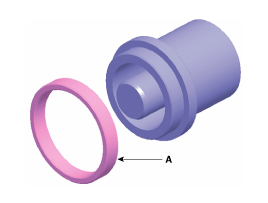
Remove the oil seal (A).
[Gasoline 2.4]
[Gasoline 3.3]
|
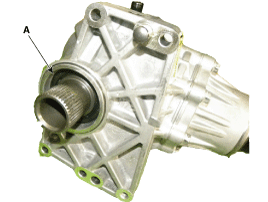

| 3. |
Install the oil seal with special service tools.
[Gasoline 2.4]
[Gasoline 3.3]
|
| 4. |
Add to transfer fluid.
(Refer to 4 Wheel Drive System - "Transfer Fluid")
|
| 5. |
Install the transfer assembly.
(Refer to 4 Wheel Drive System - "Front Wheel Transfer Assembly")
|
 Front Wheel Transfer Assembly Installation
1.
Install in the reverse order of removal.
1.
...

See also:
Oil Pan Installation
1.
Install the oil pan.
(1)
Using a gasket scraper, remove all the old sealant material
from the gasket surfaces.
...
TPMS Sensor Removal
Tire Removal
1.
Deflate tire & remove balance weights.
...
Inspection
1.
Connect the GDS on the Data Link Connector (DLC).
2.
Turn the ignition switch ON.
3.
Measure the output volt ...
Categories
- Home
- First Generation
- Second Generation
- Kia Sorento XM 2011-2026 Owners Manual
- Kia Sorento XM 2011-2026 Service Manual

Copyright ® www.ksmanual.com 2014-2026