
 Kia Sorento: Power outlet
The auxiliary 12V power outlet supplies dependable electrical current to operate mobile telephones, portable coolers, or other accessories specifically designed or compatible with the vehicle electrical grid of your Kia Sorento.
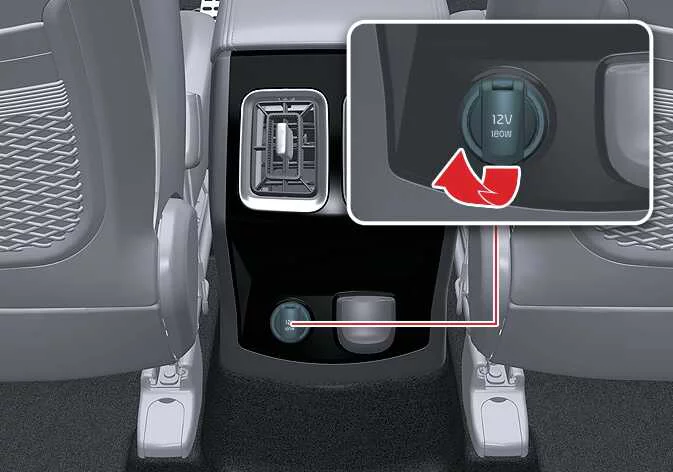
|
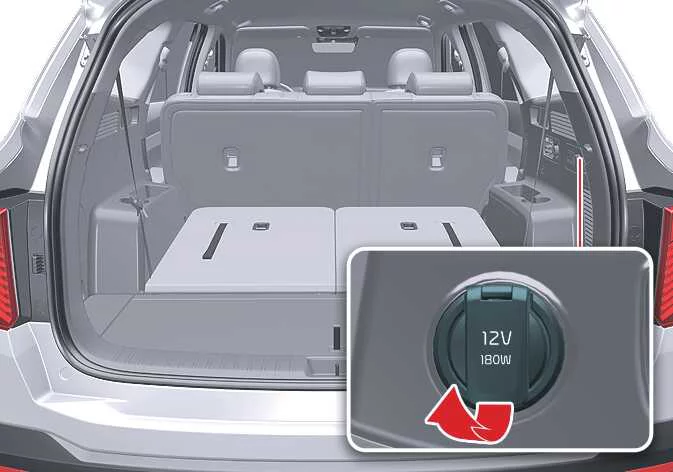
|
Connected electrical accessories should draw a total electrical current of less than 15A while the vehicle engine system remains active.
NOTE
-
Always use the auxiliary power socket only when the vehicle ignition is turned ON, and remove accessory plugs immediately after use. Leaving high-draw devices plugged in while the Kia Sorento is turned off will quickly drain the starter battery.
-
Strictly limit connected 12V electrical equipment to accessories rated below 15A in total electric capacity.
-
To reduce electrical load on the charging system, adjust the cabin air conditioner or heater blower to a lower setting when operating heavy-duty auxiliary equipment.
-
Always keep the protective spring-loaded cover securely closed when the power socket is not actively in use to prevent dust accumulation.
-
Certain unshielded electronic devices can introduce electromagnetic interference into the vehicle wiring. These appliances may cause noticeable audio static or operational glitches in other sensitive electronic systems onboard your Kia Sorento.
-
Push accessory plugs firmly into the socket as far as they will go. Loose connections create high electrical resistance, leading to overheating, thermal degradation, and blown fuses.
-
Always plug in battery-equipped electronic gadgets that feature built-in reverse current protection. Unprotected devices can backfeed electrical current into the vehicle electrical architecture and trigger system malfunctions.
WARNING: Electric Shock Hazard
Never insert fingers, metallic pins, or foreign objects such as pens into the active power outlet socket, and never touch the metallic contacts with wet hands. Doing so exposes you to severe risks of electrical shock.
NOTE
Do not plug another vehicle's Tire Mobility Kit (TMK) compressor directly into the cabin power outlet of your Kia Sorento. Mismatched power requirements between the vehicle internal circuit protection and high-amp emergency compressors can cause severe electrical fires or melt internal fuses.
 USB charger : (if equipped)
The integrated USB charger in your Kia Sorento provides a reliable power source to efficiently recharge the batteries
of small electronic devices using a standard USB connection cable.
...
 A/C inverter: (if equipped)
The high-capacity AC inverter supplies standard household-grade 115V/150W electrical power to operate approved
portable electronic equipment and utility accessories during your travels.
...
See also:
Auto Light Switch Inspection
Operate the auto light switch, then check for continuity between terminals
of multi-function switch connector.
...
Installation
1.
Combustion seal
2.
Rubber washer
3.
Support disc
4.
O-ring
...
Seat Belt Pretensioner (BPT) Removal
1.
Disconnect the battery negative cable, and wait for at least thirty
seconds before beginning work.
2.
Remove the emergency fastening de ...