 Kia Sorento: TPMS Sensor Installation
Second Generation XM (2011-2025) / Kia Sorento XM 2011-2025 Service Manual / Suspension System / Tire Pressure Monitoring System / TPMS Sensor Installation
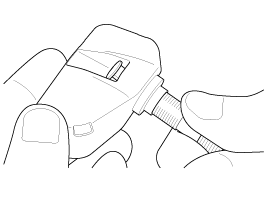
Sensor Fit
|
| 1. |
ssemble the valve stem to the sensor. Take care that the square
part of the valve fits into the sensor.
|
| 2. |
Mount assembly to wheel.
|
| 3. |
Tighten washer and nut by hand until the valve thread meets the
nut built-in calibrated stop.
|
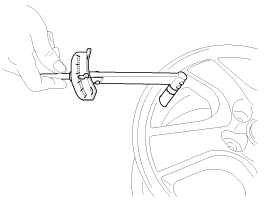
| 4. |
Using a torque wrench, tighten the nut to 5.9┬▒0.7 lb-ft (8.0┬▒1.0
Nm) It is normal to feel a break as the 1.7 lb-ft (2.3Nm) calibrated
stop in the nut snaps and the torque falls.
|
|
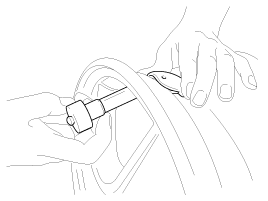
Tire Fit
Only use wheels designed to accommodate the TPMS sensor.
|
| 1. |
Lubricate the tire bead not the rim. Excessive lubrication should
not be applied.
|
| 2. |
Start tire mounting approx. 5.9 in(15 cm) from valve.
|
| 3. |
Move the mounting tool away from the valve.
|
| 4. |
Finish with mounting tool near to valve.
|
| 5. |
Carry out inflation / pressure correction and then fit valve cap.
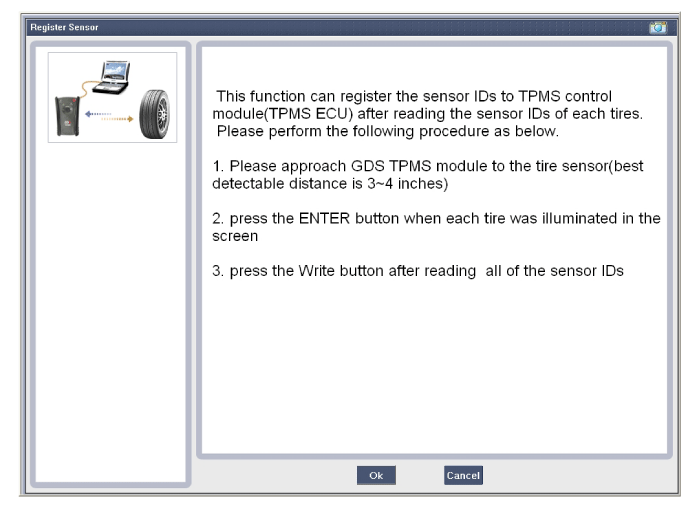
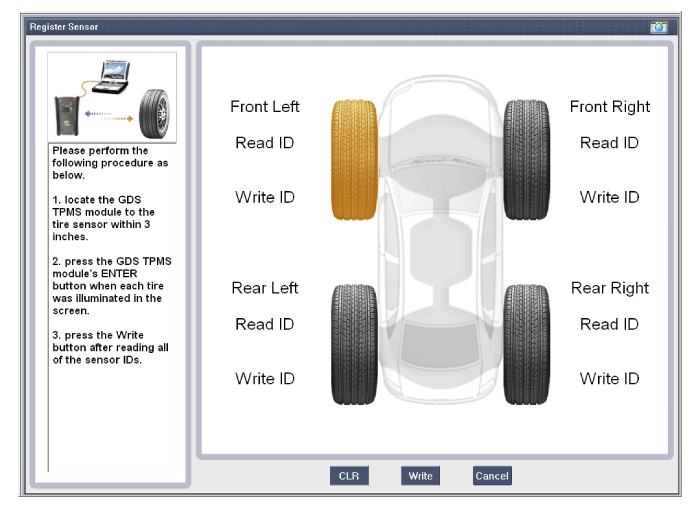
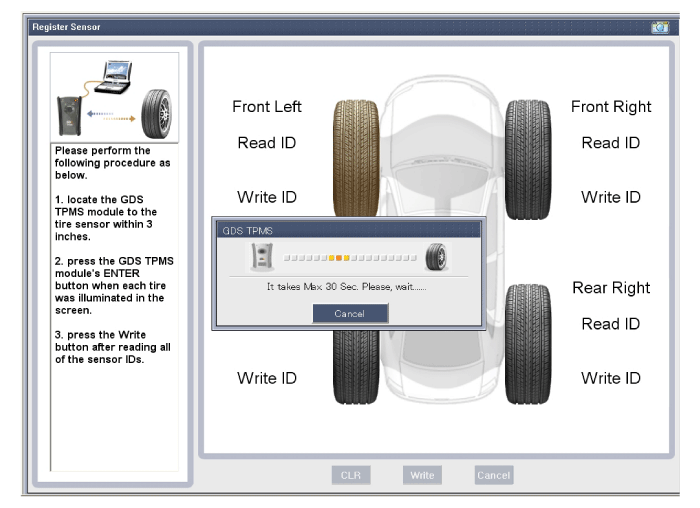
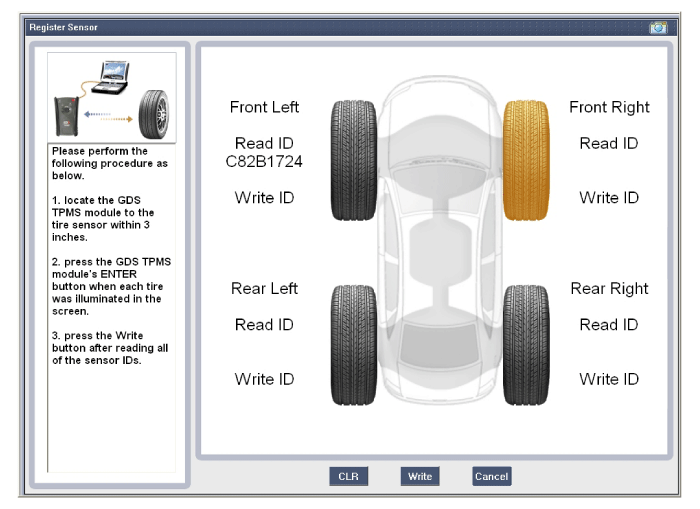
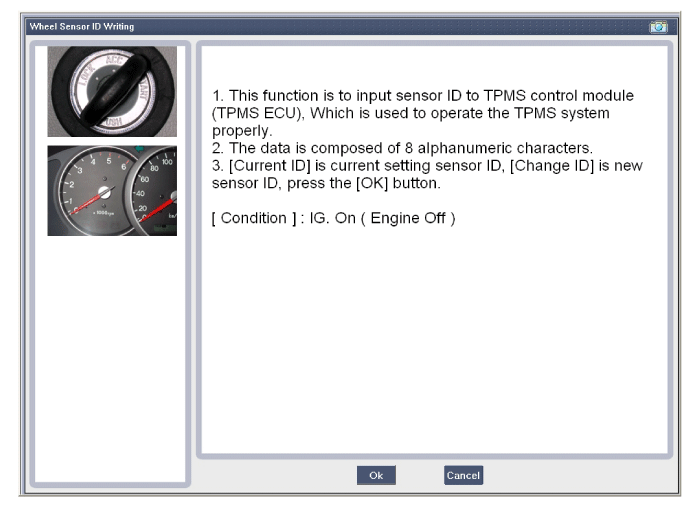
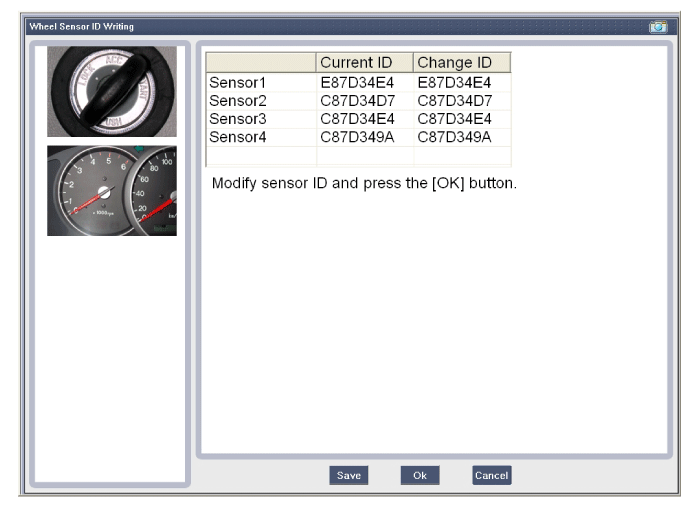
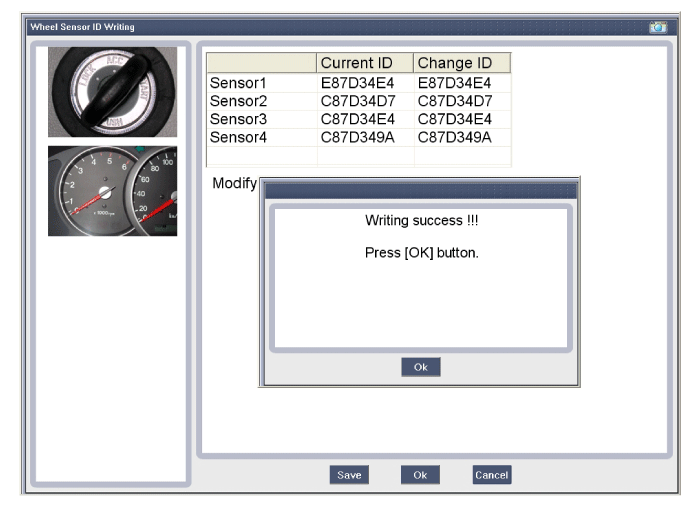
Sensor ID Writing (Wireless)
Sensor ID Writing
|
 TPMS Sensor Removal
Tire Removal
1.
Deflate tire & remove balance weights.
...
 TPMS Receiver Description
1.
Mode
(1)
Virgin State
A.
The receiver as a sole part is shipped in this
state. ...
See also:
Air Ventilation Seat Control Unit Installation
1.
Install the air ventilation seat control unit and connector.
...
Telemetics Unit (TMU) Installation
1.
Install the TMU unit.
2.
Install the AVN head unit and center fascia panel.
3.
Connect the negative (-) batt ...
Pressure Sensor Inspection
If you have trouble code related to the pressure sensor check
pressure sensor according to the inspection process.
...
Copyright ® www.ksmanual.com 2014-2025


