 Kia Sorento: Emblem Repair Procedures
|
•
|
Standard measurement : Top of emblem from end of tailgate panel (vehicle center)
|
|
•
|
Length considering curved surface : 23 mm (0.9 in)
|
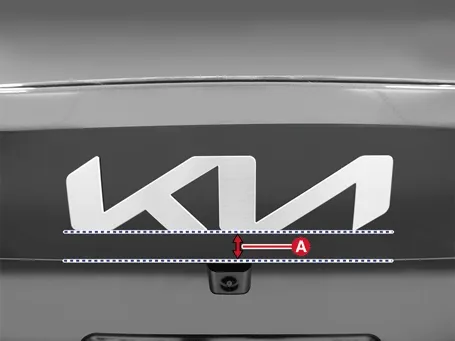
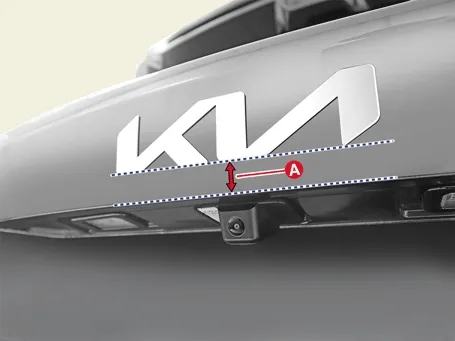
|
•
|
When removing the emblem, be careful not to damage the body or painted surface.
|
|
•
|
When using a heating gun, be careful not to damage the painted surface.
|
|
| 1. |
Mark the center of the emblem.
|
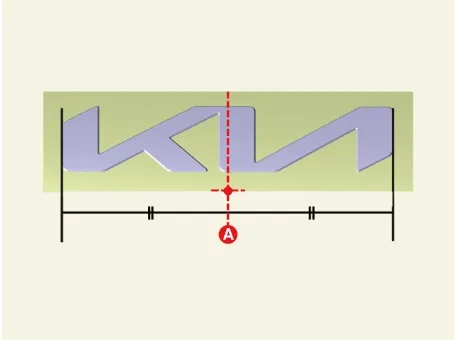
Since the center of the emblem "I" is not located at the center of the vehicle, refer to
the procedure below to mark the center.
|
| (1)
|
Mark the center (A) after measuring the horizontal length of the emblem
|
If the width is 21 cm (8.27 in), the 10.5 cm (4.13 in) part coincides with the center of
the vehicle. As shown in the image below, the part that is skewed to the left of "I"
is the center.
|
|
The shape of the emblem foam pad may be different for vehicles.
|
|
| (2)
|
Mark the center of the emblem on the foam pad.
|
|
| 2. |
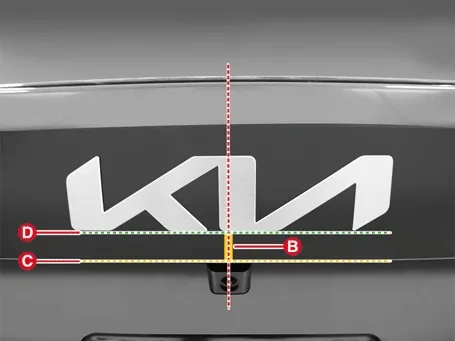
Measure the distance of the curved surface from the reference point and attach the emblem to the vehicle
center.
B : Length of curved surface (C-D) 23 mm (0.9 in.)
C : End of tailgate
D : End of emblem
|
|
The attachment location is a value set based on the end of the emblem, not the end of the foam pad.
|
|
| 3. |
Use a tool such as a roller to attach it closely to the vehicle body after attaching the emblem.
|
| 1. |
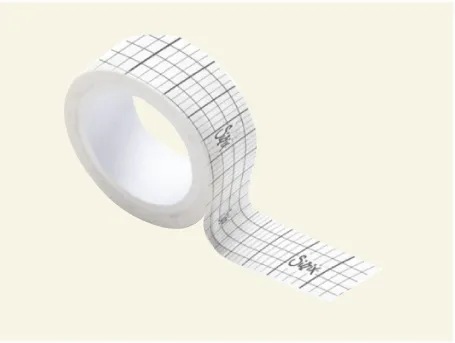
The following products can be utilized to accurately determine the location of the emblem attachment.
| A. |
Self-adhesive measuring tape
|
| B. |
Attachable tape measure (Steel products may damage the vehicle)

|
| C. |
General masking tape

|
|
| 2. |
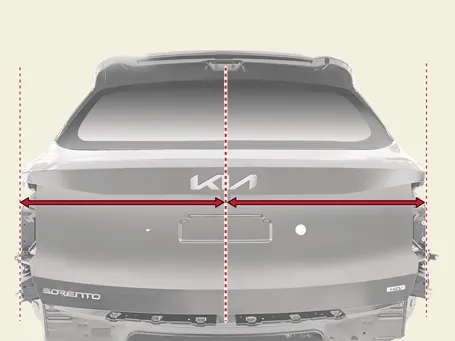
The center of the vehicle is based on the end of the tailgate.
|
Removal
1.
Disconnect the battery negative ( - ) terminal.
2.
Remove the tailgate upper trim.
...
Removal
1.
Remove the door garnish nuts (A).
Tightening torque :
...



 Rear Spoiler Repair Procedures
 Door Garnish Repair Procedures
