
 Kia Sorento: USB Charger Repair Procedures
Kia Sorento (MQ4, 2021-2026) Service Manual / Body Electrical System / Charging System / USB Charger Repair Procedures
| Removal |
Rear Console Cover
| 1. |
Remove the floor console assembly.
(Refer to Body - “Floor Console Assembly”)
|
| 2. |
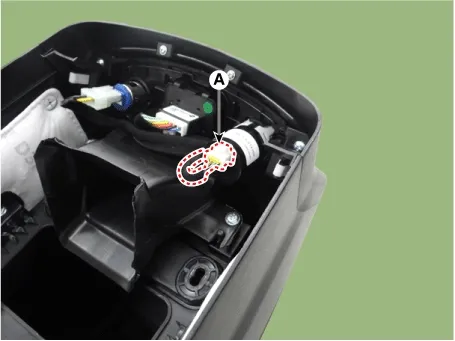
Disconnect the USB charger connectors (A).
|
| 3. |
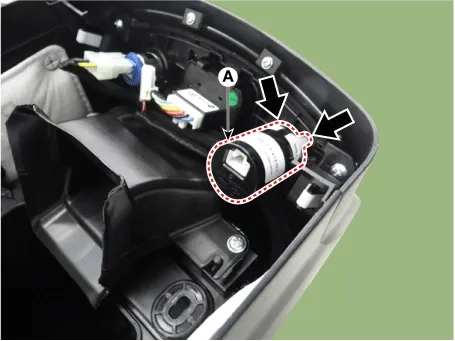
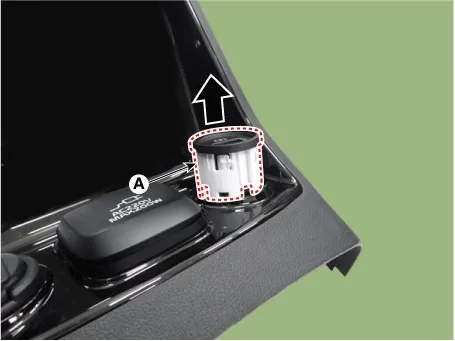
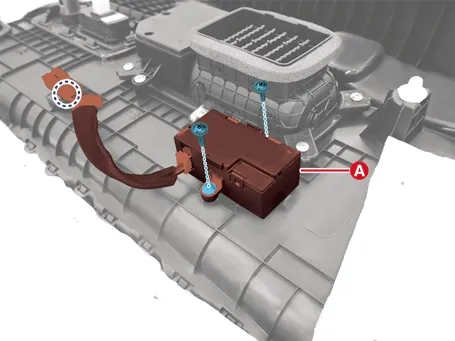
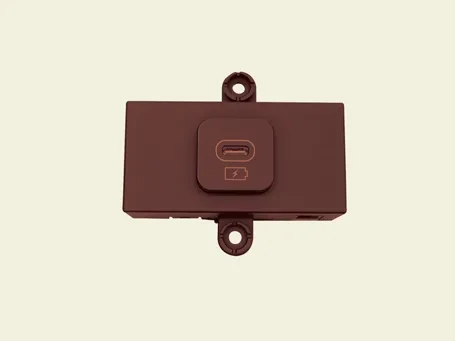
Remove the USB charger (A) after pressing the hooks.
|
Front Seat Back Board
| 1. |
Remove the front seat back board.
(Refer to Body - "Front Seat Back Cover")
|
| 2. |
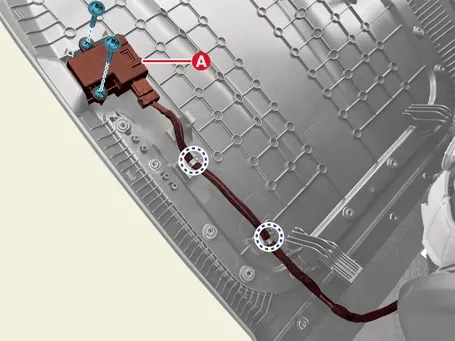
Remove the USB charger port (A) after removing the screws.
|


Luggage Side Trim
| 1. |
Remove the luggage side trim.
(Refer to Body - "Luggage Side Trim")
|
| 2. |
Remove the USB charger port (A) after removing the screws.
|
| Installation |
| 1. |
Install in the reverse order of removal.
|
Circuit Diagram
[Floor Console Tray / Rear Console Cover]
[Front Seat Back Board]
[Luggage Side Trim]...
 USB Charger Circuit Diagram
Description
During IG ON, battery voltage is supplied to the wireless power charger system to transmit an output of 5 W to
mobile phone.
Schematic Diagram
...
 Wireless Charging Unit Description and Operation
See also:
Transmitter Inspection
1.
Check that the red light flickers when the door lock or unlock
button is pressed on the transmitter.
2.
Remove the battery (A) and check ...
Crankshaft Inspection
1.
Check the crankshaft bearing oil clearance.
(1)
To check main bearing-to-journal oil clearance, remove the main
caps and bearing ...
Adjustment
Adjustment
Rear
Toe
Turn the cam bolt (A) attached to the rear assist arm clockwise or counterclockwise to adjust the toe. Adjust the
...
Manuals list
- Kia Sorento MQ4 2021-2026 Owners Manual
- Kia Sorento XM 2011-2015 Owners Manual
- Kia Sorento XM 2011-2015 Service Manual

Copyright © www.ksmanual.com 2014-2026 - 0.0636