Kia Sorento: Rear Bumper Assembly Repair Procedures - Bumper (Rear) - Body (Interior and Exterior)Kia Sorento: Rear Bumper Assembly Repair Procedures

Kia Sorento (MQ4, 2021-2026) Service Manual / Body (Interior and Exterior) / Bumper (Rear) / Rear Bumper Assembly Repair Procedures

Removal and Installation
Rear Bumper Assembly
1.
Disconnect the battery negative ( - ) terminal.
2.
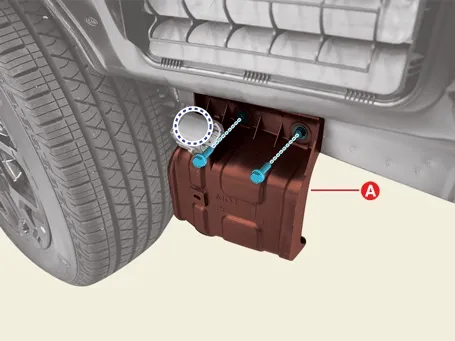
Remove the rear mud guard.
(Refer to Body Side Molding - "Rear Mud Guard")
3.
Remove the rear combination lamp.
(Refer to Body Electrical System - "Rear Combination Lamp")
4.
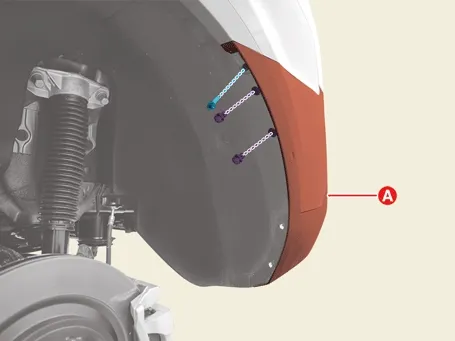
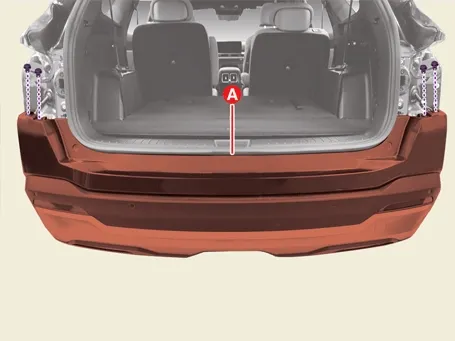
Remove the rear bumper assembly (A) after removing the clips and screws.

Body (Interior and Exterior) — Bumper (Rear) / Rear Bumper Assembly / Repair Procedures / Removal and Installation illustration

5.
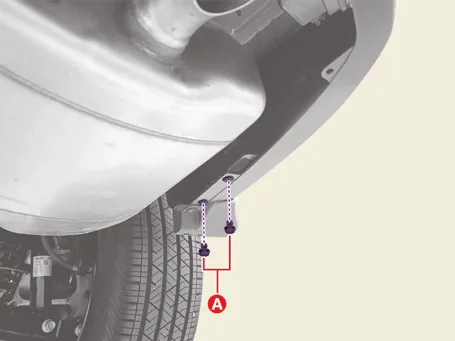
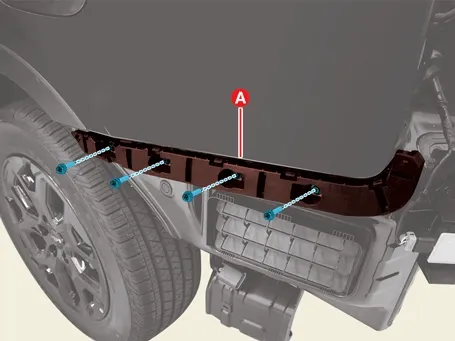
Remove the rear bumper clips (A).

Body (Interior and Exterior) — Bumper (Rear) / Rear Bumper Assembly / Repair Procedures / Removal and Installation illustration

6.
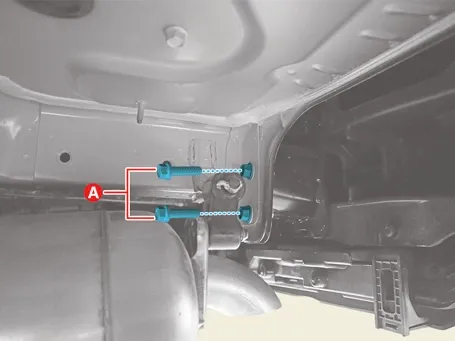
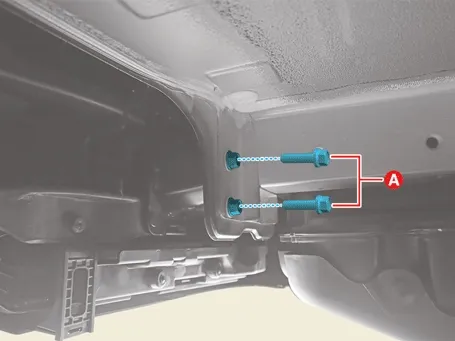
Remove the rear bumper bolts (A).

Tightening torque :
30.2 - 45.4 N·m (3.08 - 4.63 kgf·m, 22.3 - 33.5 lb·ft)

Body (Interior and Exterior) — Bumper (Rear) / Rear Bumper Assembly / Repair Procedures / Removal and Installation illustration

Body (Interior and Exterior) — Bumper (Rear) / Rear Bumper Assembly / Repair Procedures / Removal and Installation illustration

7.
Remove the rear bumper assembly (A) after removing the clips.

Body (Interior and Exterior) — Bumper (Rear) / Rear Bumper Assembly / Repair Procedures / Removal and Installation illustration

8.
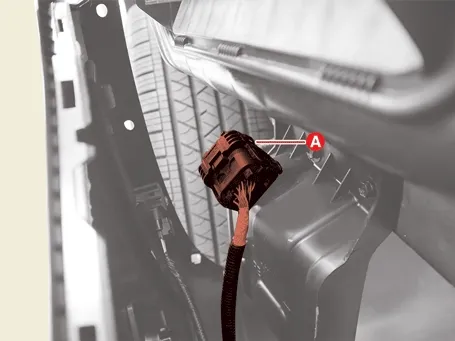
Disconnect the rear bumper main connector (A).

Body (Interior and Exterior) — Bumper (Rear) / Rear Bumper Assembly / Repair Procedures / Removal and Installation illustration

9.
Install in the reverse order of removal.
Note
Rear Corner Radar Type
•
When installing the rear bumper, remove the foreign matter attached on the exterior/interior label of the rear bumper.
(If foreign matter attached in the exterior/interior label is not removed, rear corner radar may not work.)
•
Use only genuine parts to repair the rear bumper where the rear corner radar is located.
•
Do not arbitrarily attach wrapping, accessories, molding, stickers, etc., or paint the bumper to the rear and side radar and surrounding areas.
•
Replacing rear bumper, painting or repairing around the rear corner radar may deteriorate the system performance.
•
The system may not work properly if the rear corner radar is covered with foreign matters, such as snow, rain or dirt, etc.
•
The system may not work properly if the bumper around the rear corner radar is damaged or sensor is out of position caused by the impact.
Rear Bumper Mounting Bracket
1.
Remove the rear bumper assembly.
2.
Remove the rear bumper mounting upper bracket (A) after removing the screws.

Body (Interior and Exterior) — Bumper (Rear) / Rear Bumper Assembly / Repair Procedures / Removal and Installation illustration

3.
Remove the rear bumper mounting lower bracket (A) after removing the bolts.

Tightening torque :
4.2 - 7.2 N·m (0.43 - 0.73 kgf·m, 3.1 - 5.3 lb·ft, 37.3 - 63.4 lb·in)

Body (Interior and Exterior) — Bumper (Rear) / Rear Bumper Assembly / Repair Procedures / Removal and Installation illustration

Information
Clip position :

Body (Interior and Exterior) — Bumper (Rear) / Rear Bumper Assembly / Repair Procedures / Removal and Installation illustration

4.
Install in the reverse order of removal.
Disassembly
1.
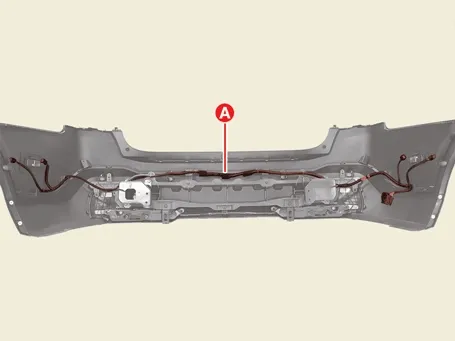
Remove the rear bumper wiring harness (A).

Body (Interior and Exterior) — Bumper (Rear) / Rear Bumper Assembly / Repair Procedures / Disassembly illustration

2.
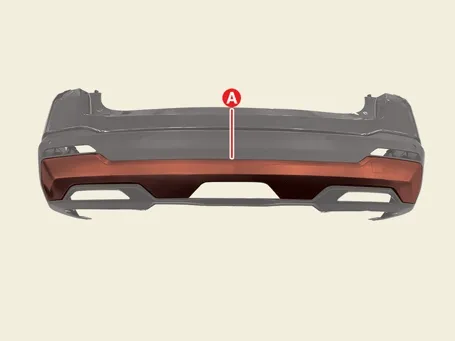
Remove the rear bumper skid plate (A).

Body (Interior and Exterior) — Bumper (Rear) / Rear Bumper Assembly / Repair Procedures / Disassembly illustration

Body (Interior and Exterior) — Bumper (Rear) / Rear Bumper Assembly / Repair Procedures / Disassembly illustration

Information
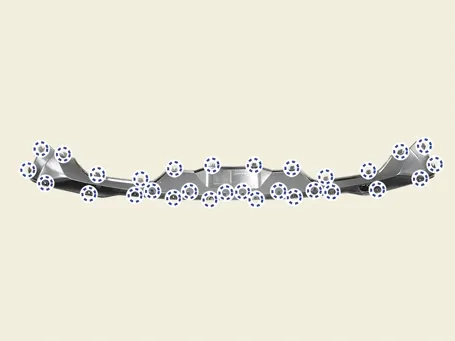
Clip position :

Body (Interior and Exterior) — Bumper (Rear) / Rear Bumper Assembly / Repair Procedures / Disassembly illustration

3.
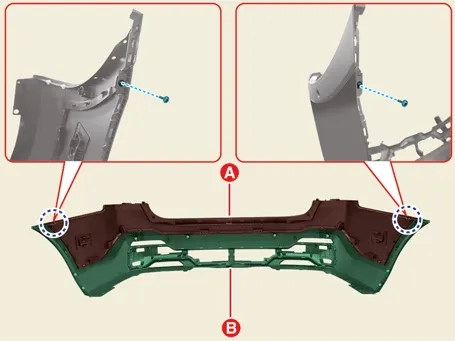
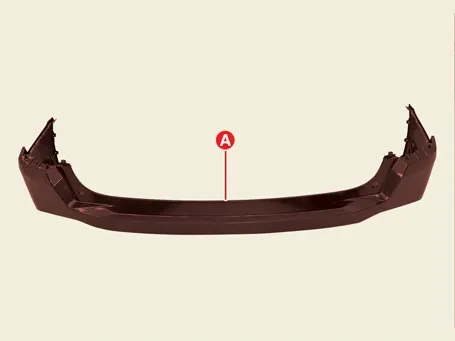
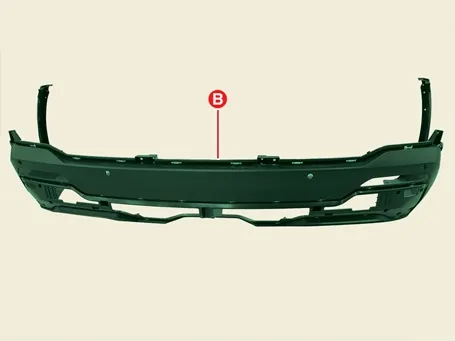
Remove the rear bumper upper (A) and lower (B) after removing the screws.

Body (Interior and Exterior) — Bumper (Rear) / Rear Bumper Assembly / Repair Procedures / Disassembly illustration

Body (Interior and Exterior) — Bumper (Rear) / Rear Bumper Assembly / Repair Procedures / Disassembly illustration

Body (Interior and Exterior) — Bumper (Rear) / Rear Bumper Assembly / Repair Procedures / Disassembly illustration

4.
Reassemble in the reverse order of disassembly.
Components and Components Location
Component 1. 1. Rear Side Undercover2. Rear Bumper Assembly 3. Rear Bumper Side Bracket4. Rear Bumper Lower Bracket...
Rear Bumper Beam Assembly Repair Procedures
Removal and Installation 1. Remove the rear bumper assembly. (Refer to Bumper (Rear) - "Rear Bumper Assembly") ...
See also:

Rear Bumper Beam Assembly Repair Procedures
Removal and Installation 1. Remove the rear bumper assembly. (Refer to Bumper (Rear) - "Rear Bumper Assembly") ...

Seat Belt Pretensioner (BPT) Removal and Installation
Removal Front Seat Belt Pretensioner ...

High Pressure Fuel Pump Removal and Installation
Removal 1. Release the residual pressure in fuel line. (Refer to the Fuel Delivery System - "Release Residual Pressure ...

Copyright © www.ksmanual.com 2014-2026 - 0.042