
 Kia Sorento: Center Pillar Trim Repair Procedures
Kia Sorento (MQ4, 2021-2026) Service Manual / Body (Interior and Exterior) / Interior Trim / Center Pillar Trim Repair Procedures
| Removal and Installation |
Center Pillar Lower Trim
| 1. |
Remove the front and rear door scuff trim.
(Refer to Interior Trim - "Door Scuff Trim")
|
| 2. |
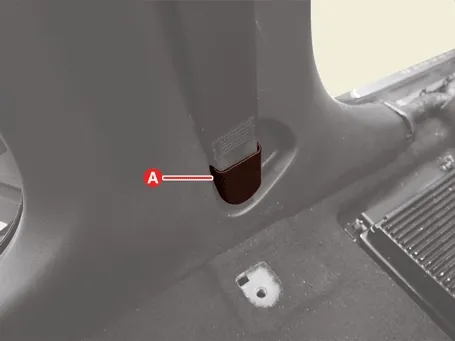
Remove the front seat belt lower anchor cover (A).
|
| 3. |
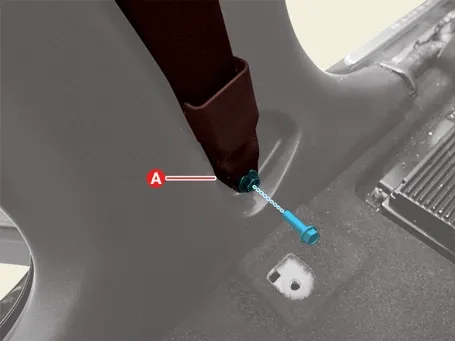
Remove the front seat belt lower anchor (A) after removing the bolt.
|
| 4. |
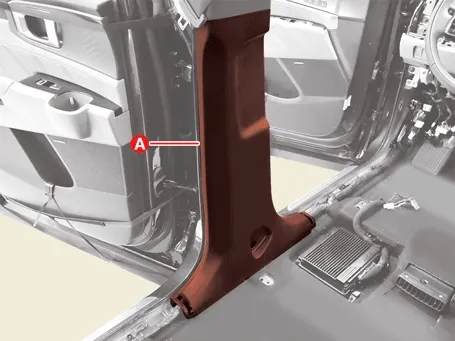
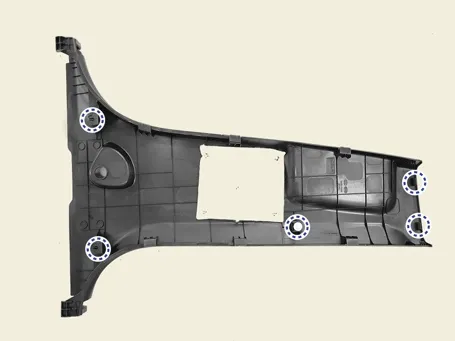
Remove the center pillar lower trim (A).
|


| 5. |
Install in the reverse order of removal.
|
Center Pillar Upper Trim
| 1. |
Remove the center pillar lower trim.
|
| 2. |
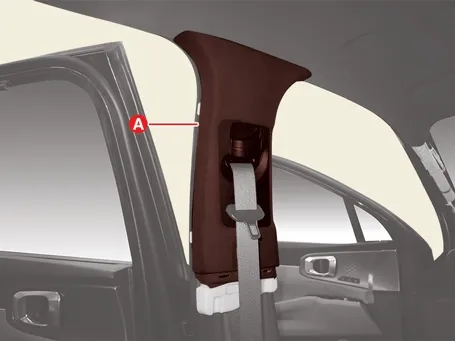
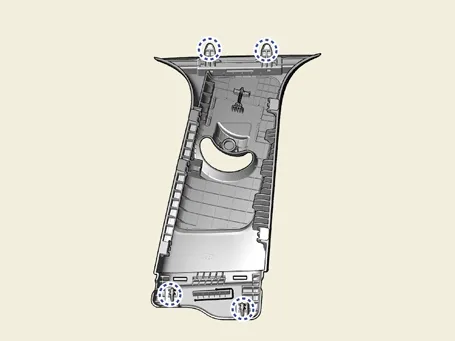
Remove the center pillar upper trim (A).
|
| 3. |
Install in the reverse order of removal.
|
Removal and Installation
1.
Remove the front door body side weatherstrip.
(Refer to Door (Front) - "Front Door Weatherstrip")
...
 Front Pillar Trim Repair Procedures
Removal and Installation
1.
Remove the rear door body side weatherstrip.
(Refer to Door (Rear) - "Rear Door Weatherstrip")
...
 Rear Pillar Trim Repair Procedures
See also:
Rheostat Repair Procedures
Removal
1.
Remove the crash pad side lower garnish.
(Refer to Body - "Crash Pad Garnish")
...
Tightening Torques
Item
kgf.m
N.m
lb-ft
Positive Crankcase Ventilation (PCV) Valve installation
0.19 ~ 0.29
1.9 ~ 2.8
1.4 ~ 2.1
...
Water pump Removal and Installation
1.
Loosen the drain plug, and then drain the engine coolant.
Remove the radiator cap to help drain the coolant faster.
2.
Remove the dr ...
Manuals list
- Kia Sorento MQ4 2021-2026 Owners Manual
- Kia Sorento XM 2011-2015 Owners Manual
- Kia Sorento XM 2011-2015 Service Manual

Copyright © www.ksmanual.com 2014-2026 - 0.0543