
 Kia Sorento: Starter Removal and Installation
Kia Sorento (MQ4, 2021-2026) Service Manual / Engine Electrical System / Starting System / Starter Removal and Installation
| Removal |
| 1. |
Disconnect the battery negative ( - ) terminal.
|
| 2. |
Remove the air cleaner assembly.
(Refer to Engine Mechanical System - "Air Cleaner")
|
| 3. |
Remove the starter upper mounting bolt (A).
|
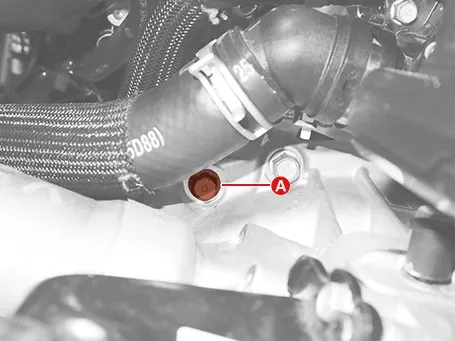
| 4. |
Remove the engine room under cover.
Refer to Engine Mechanical System - "Engine Room Under
Cover")
|
| 5. |
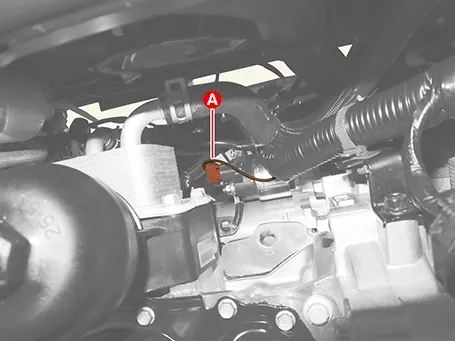
Disconnect the starter connector (A).
|
| 6. |
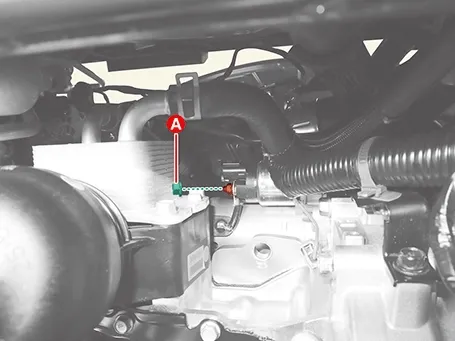
Disconnect the cable after removing the nut (A).
|
| 7. |
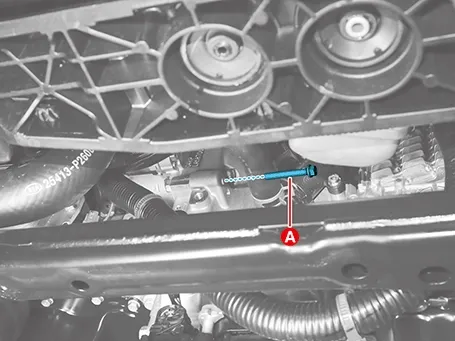
Remove the starter lower mounting bolt (A).
|
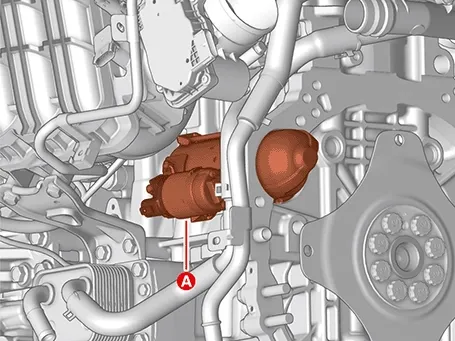
| 8. |
Remove the starter (A).
|
| Installation |
| 1. |
Install in the reverse order of removal.
|

Starter Components and Components Location
Components Location
1. Front Bracket Assembly2. Reducer Assembly3.
Yoke Assembly4. Armature Ass...
 Starter Components and Components Location. Starter Description and Operation
Inspection
Starter solenoid inspection
1.
Disconnect the M terminal (A) of solenoid switch after removing the nut.
...
 Starter Inspection
See also:
Power Seat Control Switch Inspection
1.
With the power seat switch in each position, make sure that continuity
exists between the terminals below. If continuity is not as specified,
replace the power seat ...
TJ Joint Inspection
1.
Check the spider assembly for roller rotation, wear or corrosion.
2.
Check the groove inside the joint case for wear or corrosion
...
License Lamp Repair Procedures
Removal
1.
Disconnect the battery negative ( - ) terminal.
2.
Remove the licen ...
Manuals list
- Kia Sorento MQ4 2021-2026 Owners Manual
- Kia Sorento XM 2011-2015 Owners Manual
- Kia Sorento XM 2011-2015 Service Manual

Copyright © www.ksmanual.com 2014-2026 - 0.0762