
 Kia Sorento: Rear Seat Assembly Repair Procedures
| Removal and Installation |
| 2nd Seat Assembly |
| 1. |
Disconnect the battery negative ( - ) terminal.
|
| 2. |
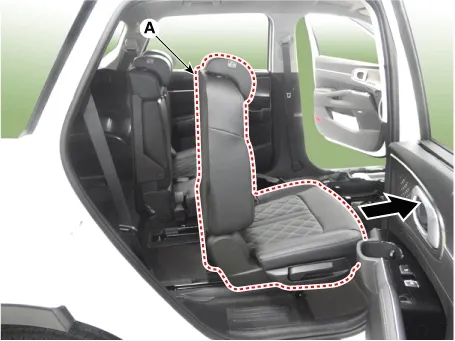
Push the second row seat assembly [RH] (A) as far forward as possible.
|
| 3. |
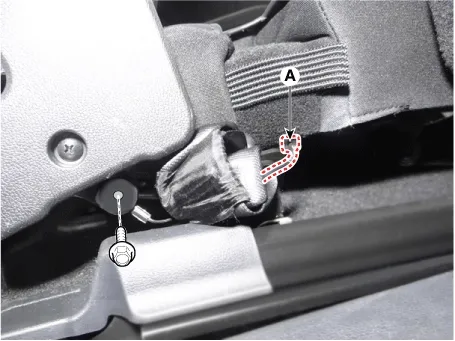
Disconnect the 2nd center seat belt buckle connector (A) after removing the bolt.
|
| 4. |
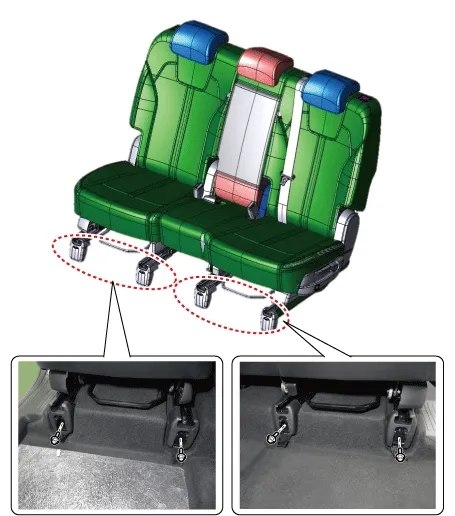
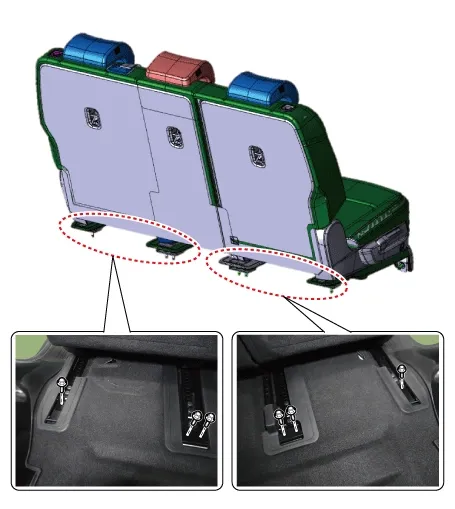
Remove the bolt.
[Front]
[Rear]
|
| 5. |
Remove the 2nd seat assembly (A).
|
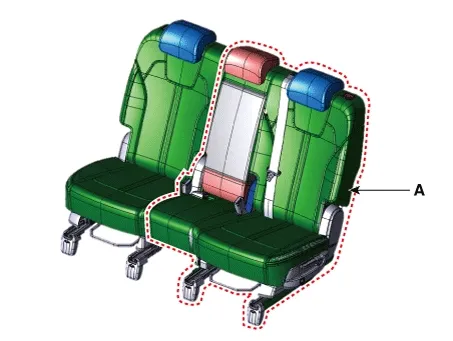
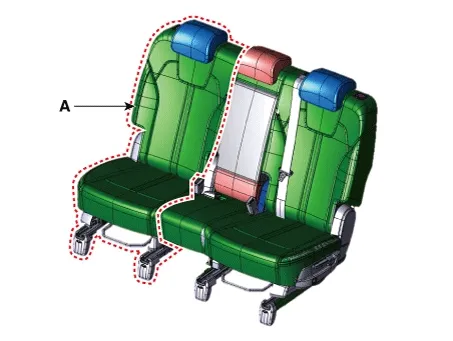
| 6. |
Disconnect the 2nd seat main connector (A).
|
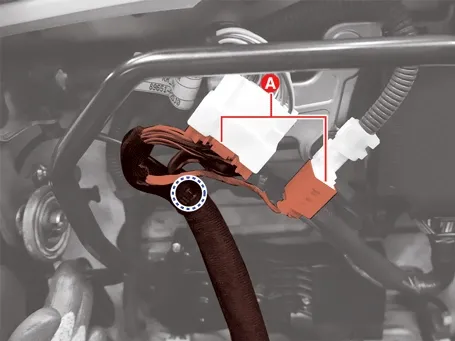
| 7. |
Install in the reverse order of removal.
|
Seat bolts installation procedure
|

| 1. |
Disconnect the battery negative ( - ) terminal.
|
| 2. |
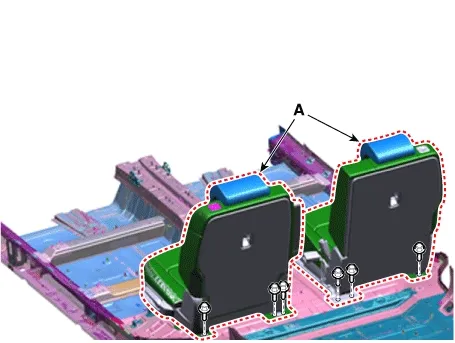
Remove the 2nd seat assembly (A) after removing the bolts.
[Front]
[Rear]
|
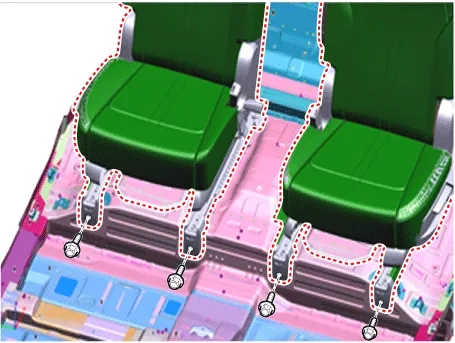
| 3. |
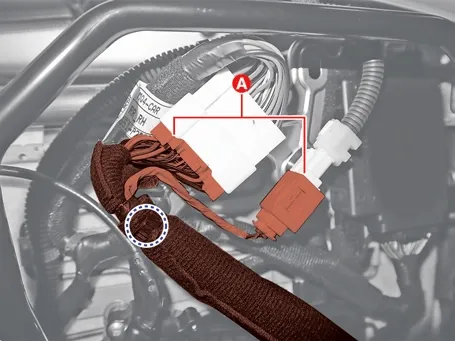
Disconnect the 2nd seat main connector (A).
|
| 4. |
Install in the reverse order of removal.
|
| [3rd Seat Assembly] |
| 1. |
Disconnect the battery negative ( - ) terminal.
|
| 2. |
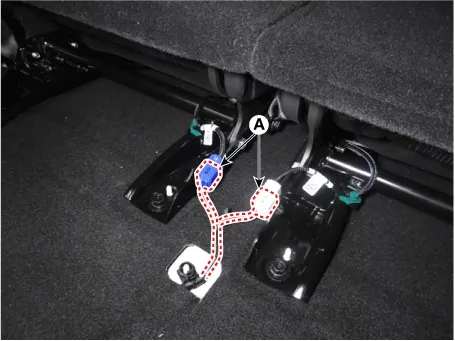
Disconnect the 3rd seat connectors (A).
|
| 3. |
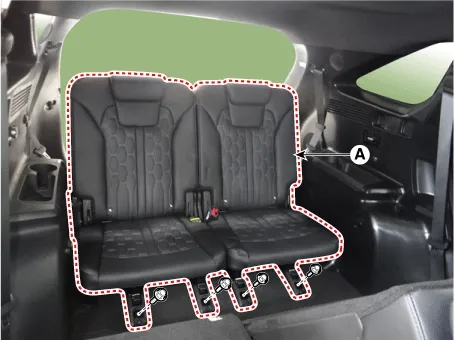
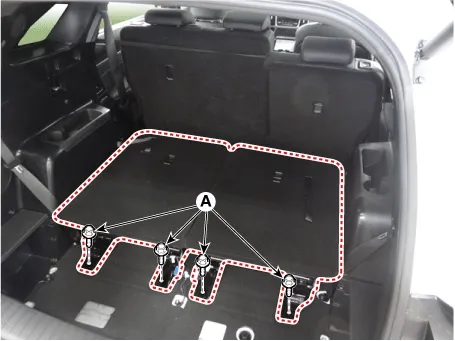
Remove the 3rd seat assembly (A) after removing the bolts.
|
| 4. |
Remove the 3rd seat assembly bolts (A).
|
| 5. |
Install in the reverse order of removal.
|

 Seat (Rear)
 Rear Seat Back Cover Repair Procedures
See also:
Specifications
Items
Specifications
Rated voltage
5V
Load
Max. 1mA
Detection illuminations
Tail lamp
ON : 2.7 ...
Auto Head lamp leveling Unit Inspection with GDS
Initialization and diagnosis sequence by using GDS equipment.
Below content summarize the procedure for A/S using GDS.
No.
Procedure
1
Locate vehicle to flat ...
Manual climate control system: (if equipped). Heating and air conditioning (A/C) operation
The manual climate control system efficiently cools, dehumidifies, or heats the interior cabin of the Kia Sorento to
ensure maximum thermal comfort for the driver and all passengers throughout ev ...
Manuals list
- Kia Sorento MQ4 2021-2026 Owners Manual
- Kia Sorento XM 2011-2015 Owners Manual
- Kia Sorento XM 2011-2015 Service Manual
