
 Kia Sorento: Power Seat Motor Repair Procedures
| Removal |
| 1. |
Remove the front seat back cover assembly.
(Refer to Body - "Front Seat Back Cover")
|
| 2. |
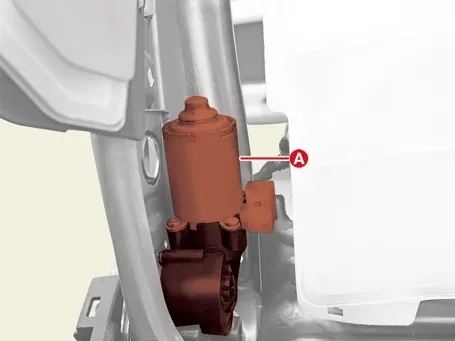
Disconnect the reclining motor connector (A).
|
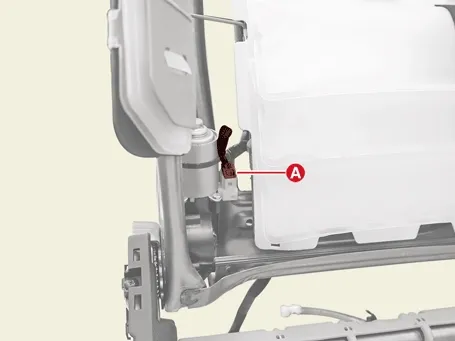
| 3. |
Remove the reclining bar clip (A).
|
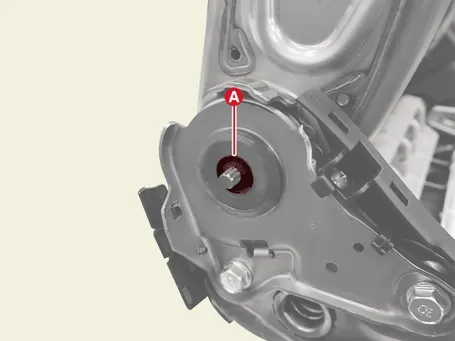
| 4. |
Remove the reclining bar (A).
|
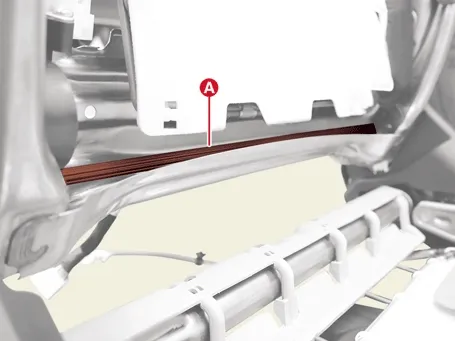
| 5. |
Remove the reclining motor bolt (A).
|
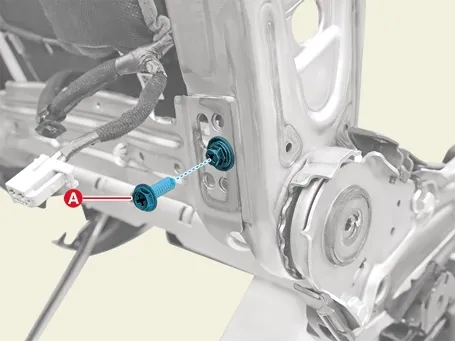
| 6. |
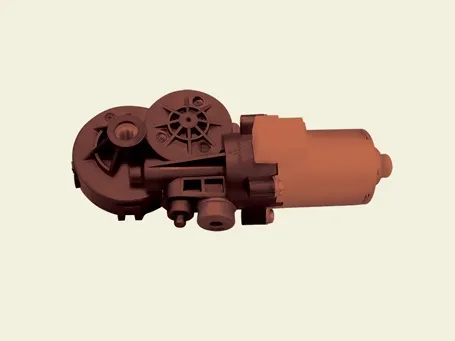
Remove the reclining motor (A).
|
| 1. |
Remove the front seat cushion cover.
(Refer to Body - "Front Seat Cushion Cover" )
|
| 2. |
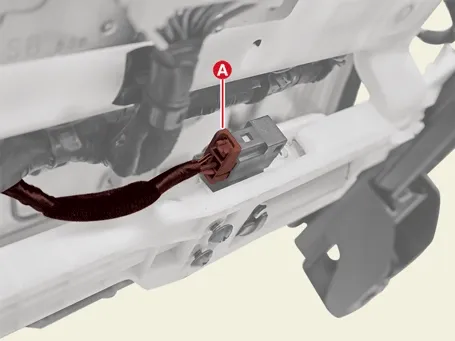
Disconnect the sliding motor connector (A).
|
| 3. |
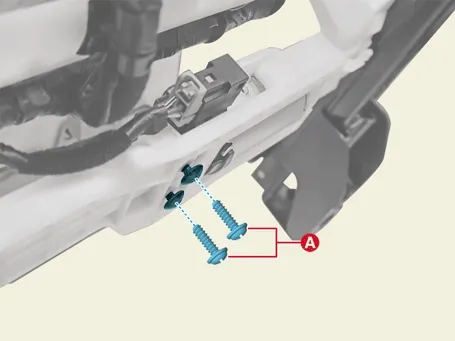
Remove the sliding motor screws (A).
|
| 4. |
Remove the sliding motor (A).
|
| 1. |
Remove the front seat cushion cover.
(Refer to Body - "Front Seat Cushion Cover" )
|
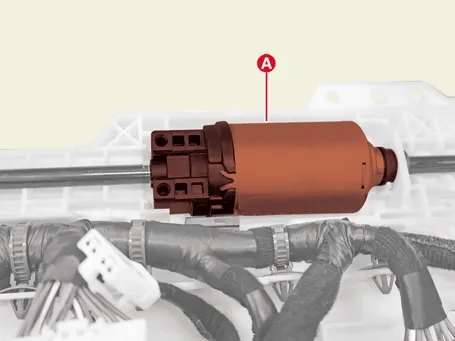
| 2. |
Disconnect the tilt motor connector (A).
|
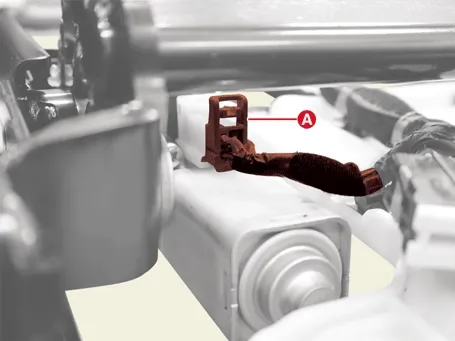
| 3. |
Remove the tilt bracket bolt (A).
|
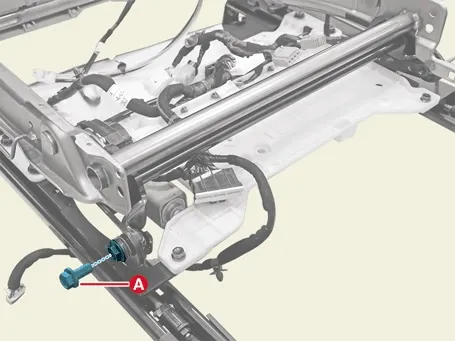
| 4. |
Remove the tilt motor assembly (A) after removing the bolts.
|
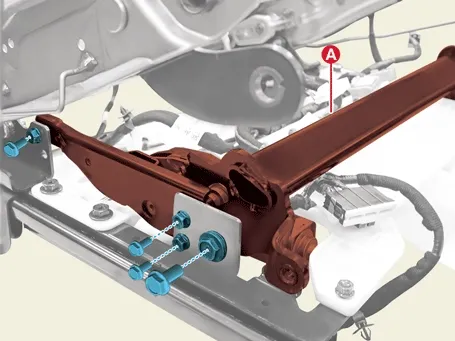
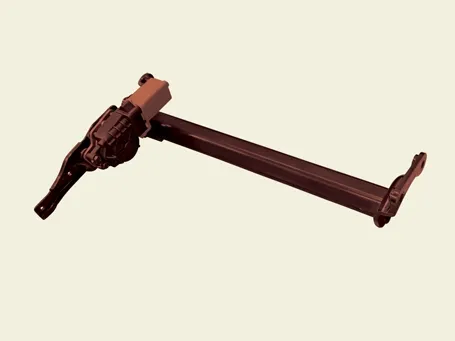
| 1. |
Remove the front seat cushion cover.
(Refer to Body - "Front Seat Cushion Cover" )
|
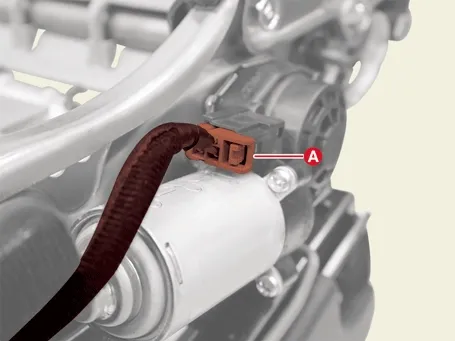
| 2. |
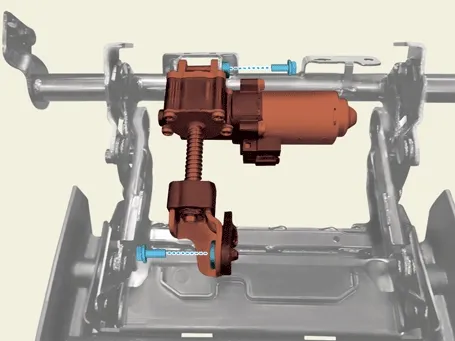
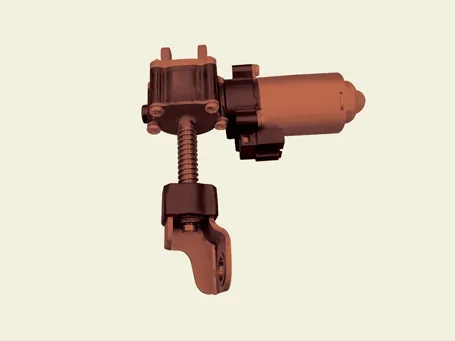
Disconnect the height motor connector (A).
|
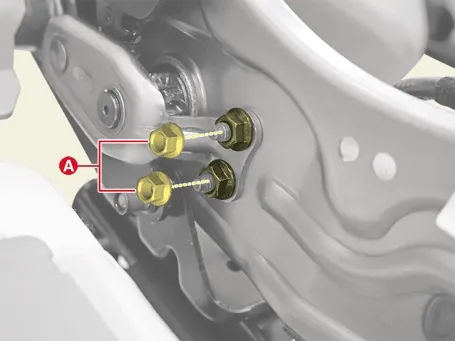
| 3. |
Remove the height motor nuts (A).
|
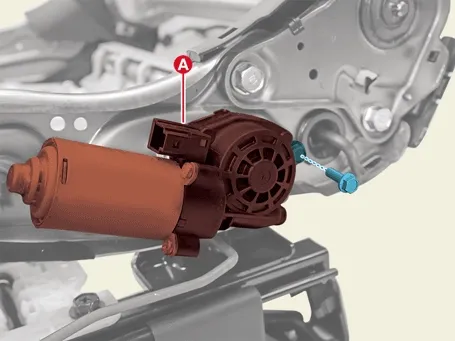
| 4. |
Remove the height motor assembly (A) after removing the bolt.
|
| 1. |
Remove the leg rest assembly.
(Refer to Body - "Front Seat Leg Rest assembly")
|
| 2. |
Remove the leg rest motor (A) after removing the bolts.
|
| 1. |
Remove the front seat assembly.
(Refer to Body - "Front Seat Assembly")
|
| 2. |
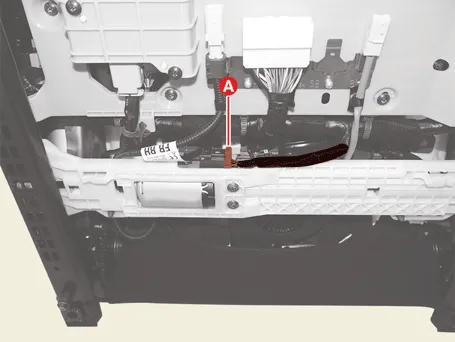
Disconnect the sliding motor connector (A).
|
| 3. |
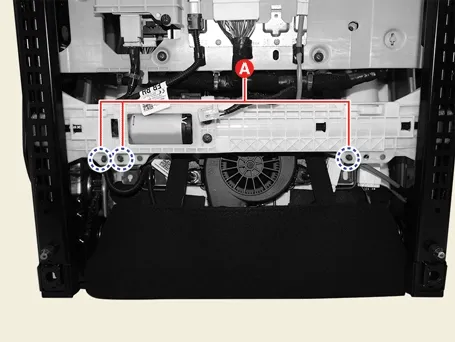
Remove the fasteners (A).
|
| 4. |
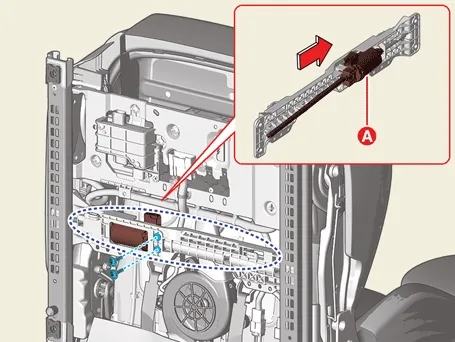
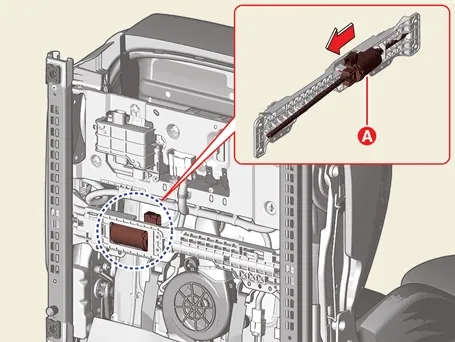
Remove the motor.
|
| 5. |
Remove the motor bracket (A) after removing the bolts.
|
| 1. |
Remove the front seat assembly.
(Refer to Body - "Front Seat Assembly")
|
| 2. |
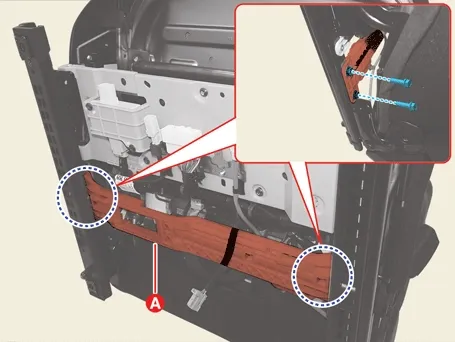
Separate the seat wiring (A) after removing the fasteners.
|
| 3. |
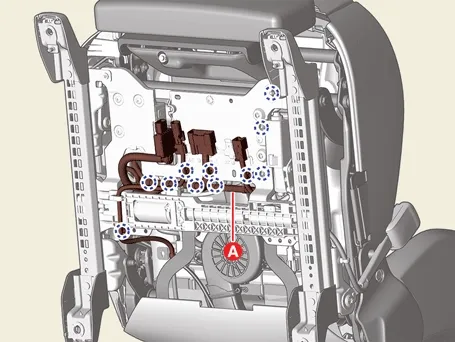
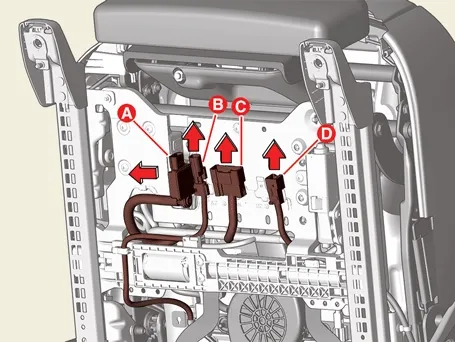
Separate the unit and connectors (A, B, C, D) by pulling it in the direction of the arrow.
A : Occupant Detection System (ODS) unit
B : Side Airbag (SAB) connector
C : Seat extension connector
D : Seat belt buckle connector
|
| 4. |
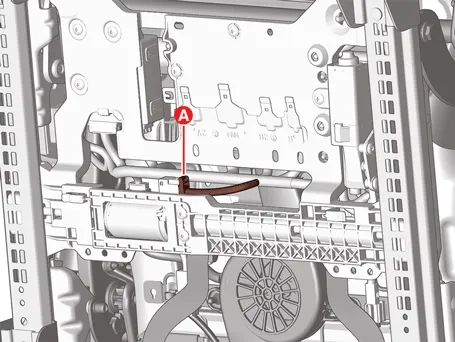
Disconnect the sliding motor connector (A).
|
| 5. |
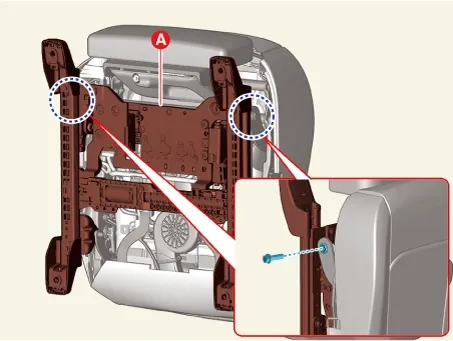
Separate the seat track (A) after removing the bolts.
|
| 6. |
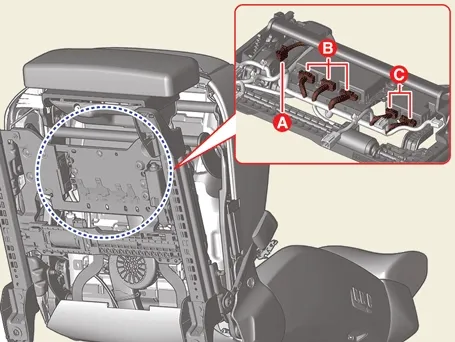
Disconnect the connectors (A, B, C).
A : Height motor connector
B : Power seat unit connector
C : Heater / ventilation unit connector
|
| 7. |
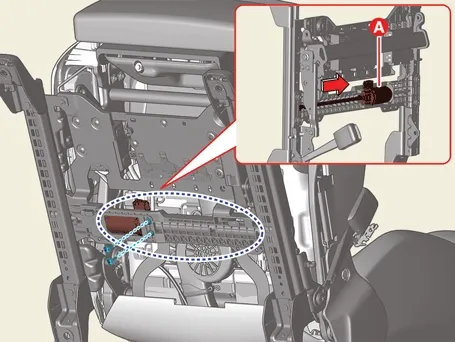
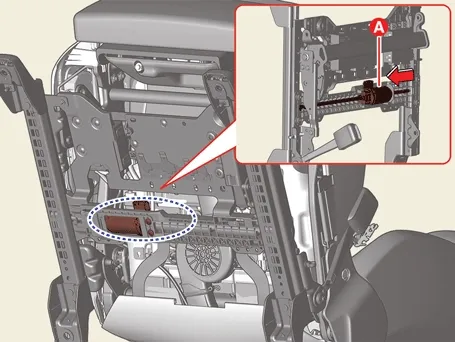
Remove the motor
|
| 8. |
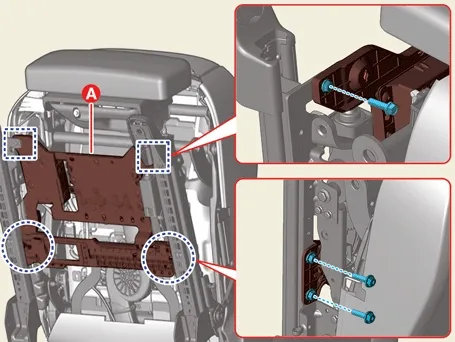
Remove the motor bracket (A) after removing the bolts.
|
| 9. |
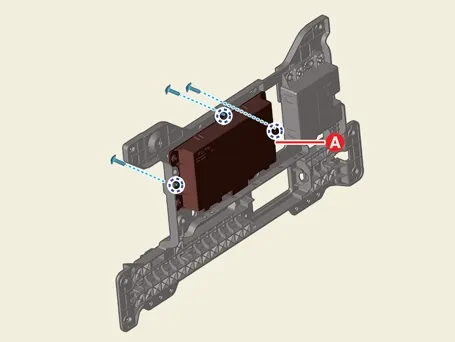
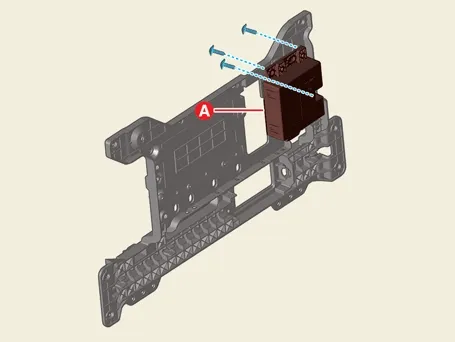
Remove the power seat unit (A) after removing the screws.
|
| 10. |
Remove the heater / ventilation unit (A) after removing the screws.
|
| Installation |
| 1. |
Install in the reverse order of removal.
|
 Rear Seat Unit Repair Procedures
 Smart Key System
See also:
License Lamps Removal
1.
Disconnect the negative (-) battery terminal.
2.
Remove the license lamp lens (A) from the panel after loosening
a screw.
...
Coolant Repair procedures
Replacement and Air Bleeding
...
Blower Resistor Inspection
1.
Measure the resistance between the terminals.
2.
The measured resistance is not within specification, the blower
resistor must be replac ...
Manuals list
- Kia Sorento MQ4 2021-2026 Owners Manual
- Kia Sorento XM 2011-2015 Owners Manual
- Kia Sorento XM 2011-2015 Service Manual
