
 Kia Sorento: Manual climate control system: (if equipped). Heating and air conditioning (A/C) operation
The manual climate control system efficiently cools, dehumidifies, or heats the interior cabin of the Kia Sorento to ensure maximum thermal comfort for the driver and all passengers throughout every season.
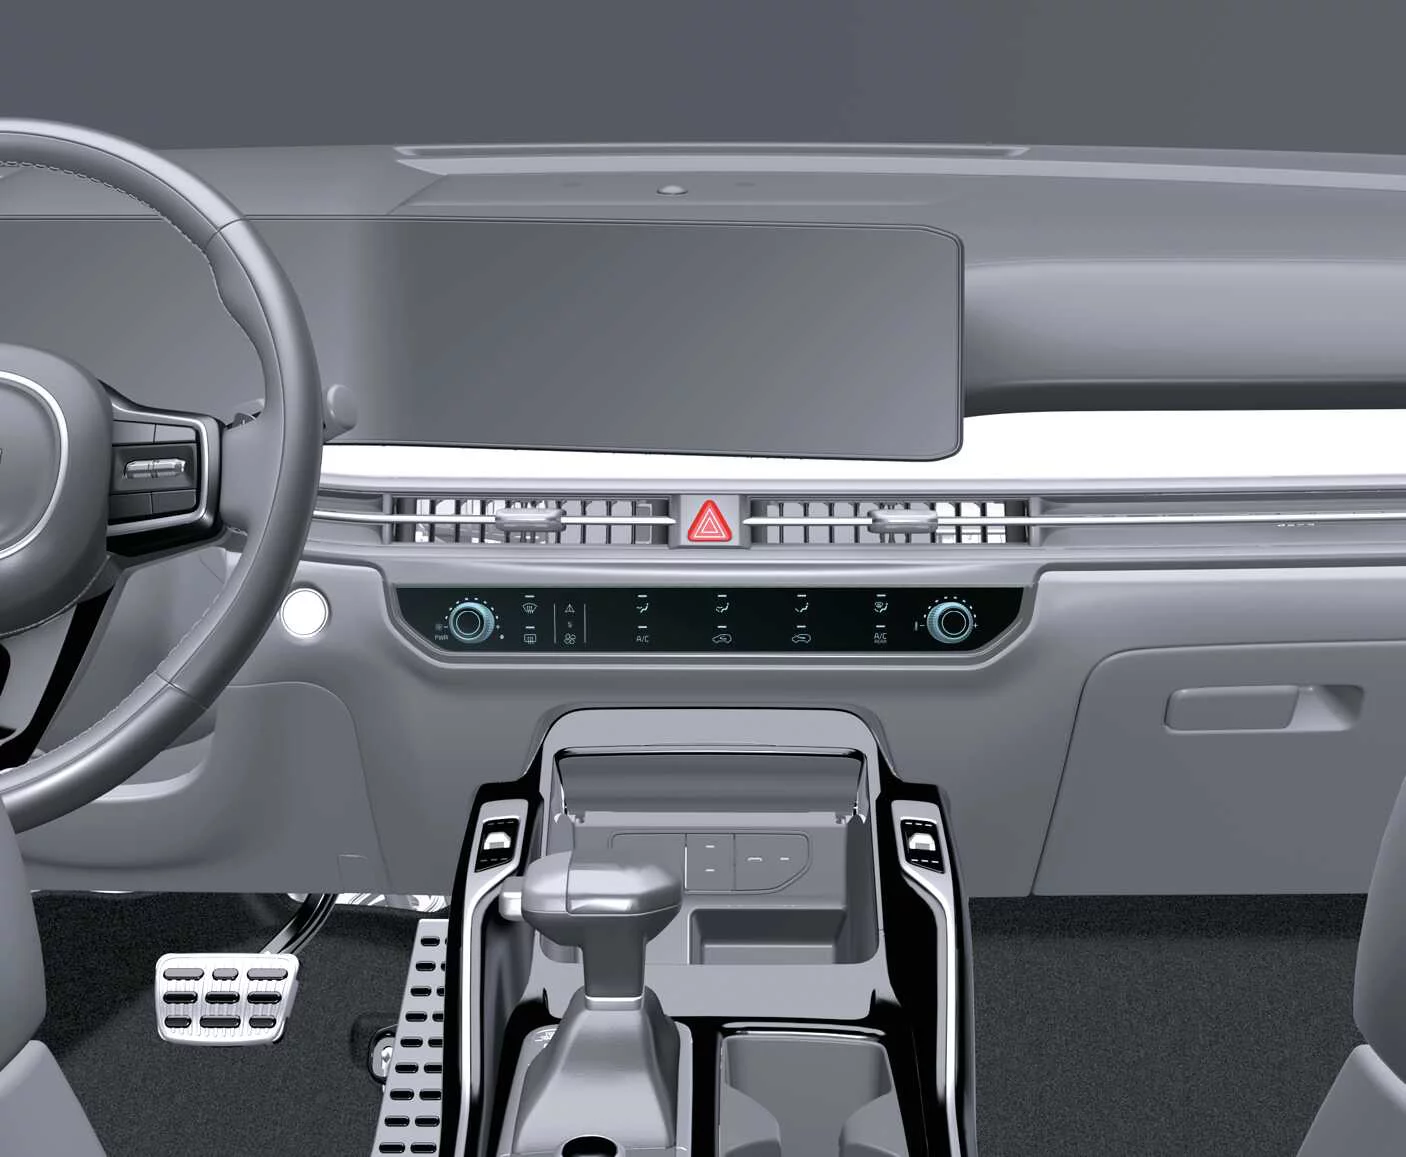
|
|
Symbol |
Notes |
|---|---|
|
|
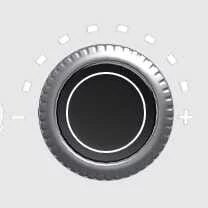
Fan speed control knob |
|
|
Front windshield defroster button |
|
|
Infotainment/climate switchable controller |
|
|
Mode selection buttons |
|
|
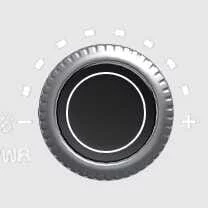
Temperature control knob |
|
|
Rear window defroster button |
|
|
A/C button |
|
|
Air intake control buttons |
|
|
3rd row A/C button (if equipped) |









|
|
NOTE
Operating the climate blower fan extensively while the ENGINE START/STOP ignition button is in the ACC (Accessory) position may cause the 12V vehicle battery to discharge rapidly. To preserve battery charge, always operate the high-output blower fan exclusively when the internal combustion engine or hybrid system is actively running.
Heating and air conditioning (A/C) operation
To manually adjust, configure, and operate the advanced heating and A/C setup in your vehicle, carefully follow these step-by-step instructions:
- Start the vehicle.
- Set the desired mode.
-
Heating:

-
Cooling:
-
- Set the temperature control as desired.
- Set the air intake control to external air.
- Set the desired fan speed. Turn the A/C system on if desired.
Press the AUTO button at any time to instantly switch over to the fully and automatically controlled climate management system.
Mode selection
The dedicated mode selection button efficiently directs and controls the precise vector of airflow through the intricate vehicle ventilation network.
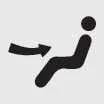
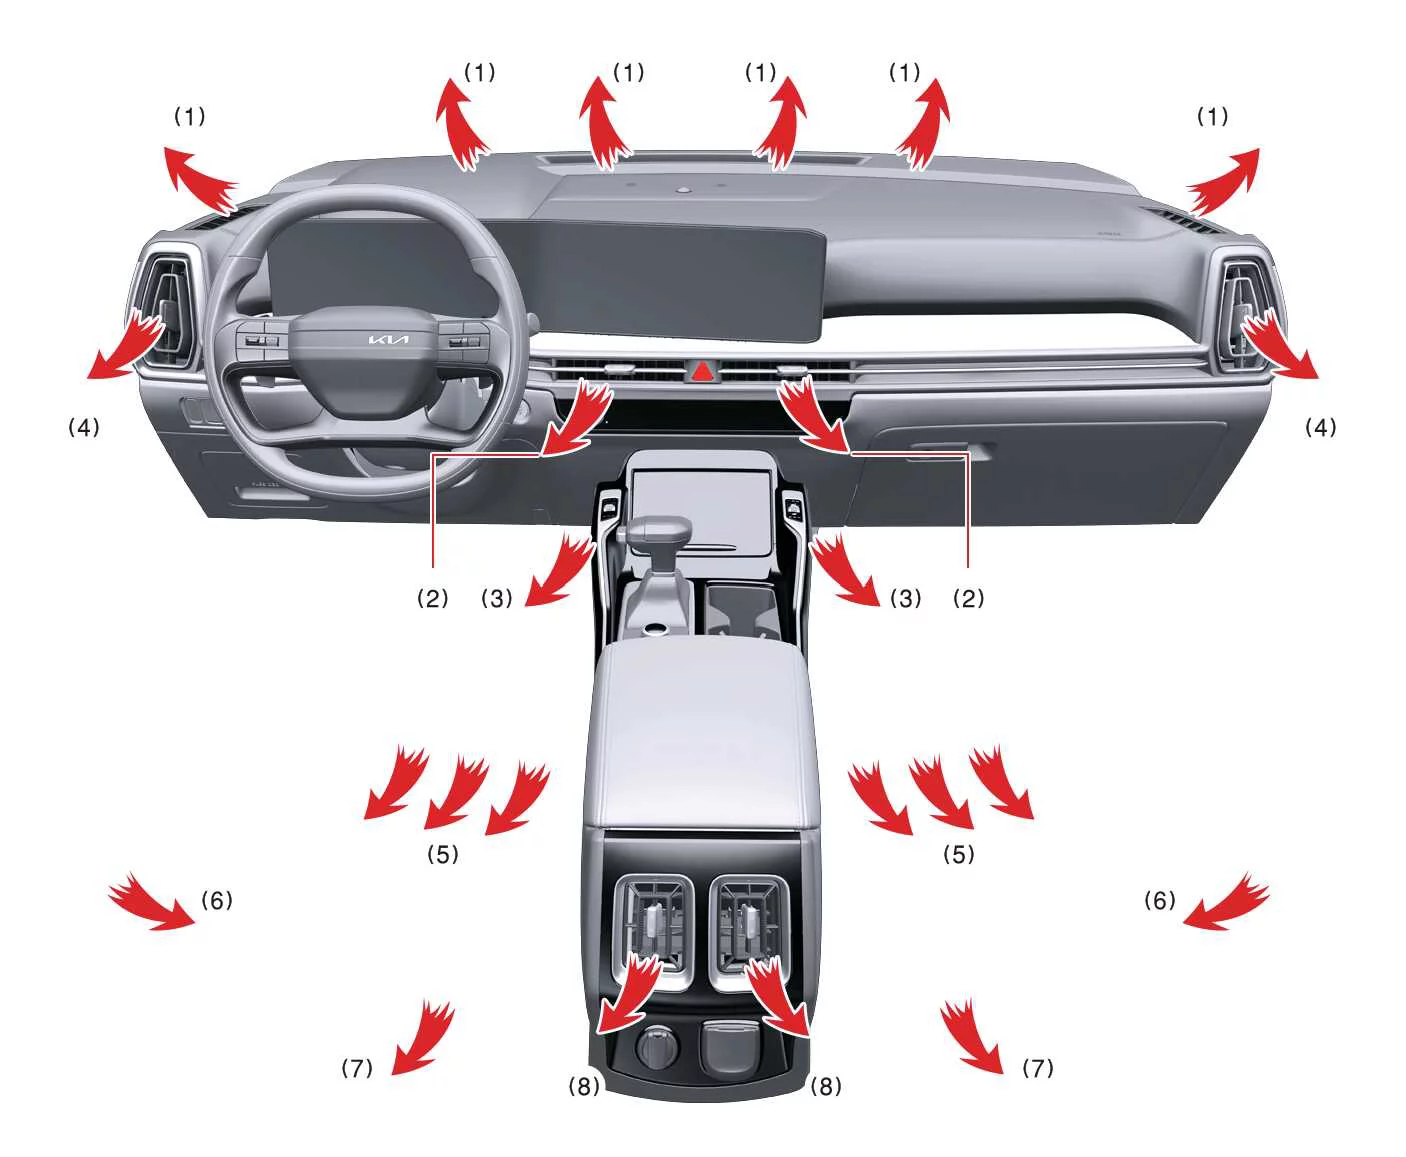
 Face-Level (2, 4, 6, 8)
Air flow is directed toward the upper body and face. You can control the direction of the airflow from each vent.
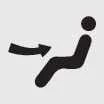 Bi-Level (2, 3, 4, 5, 6, 7, 8)
Air flow is directed toward the upper body and face and the floor.
 Floor-Level (1, 3, 4, 5, 7, 8)
Most of the airflow is directed to the floor, and a small amount is directed to the windshield, side window defrosters, and side air vents.
 Floor/Defrost-Level (1, 3, 4, 5,
7,
8)
Floor/Defrost-Level (1, 3, 4, 5,
7,
8)
Most of the airflow is directed to the floor and windshield, and a small amount is directed to the side window defrosters and side air vents.
 Defrost-Level (1, 4)
Most of the air flow is directed to the windshield, and a small amount is directed to the side window defrosters and side air vents.
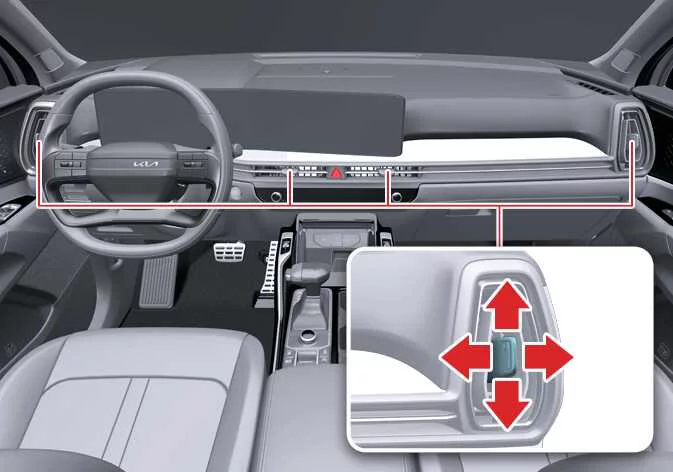
Instrument panel vents

|
|
|
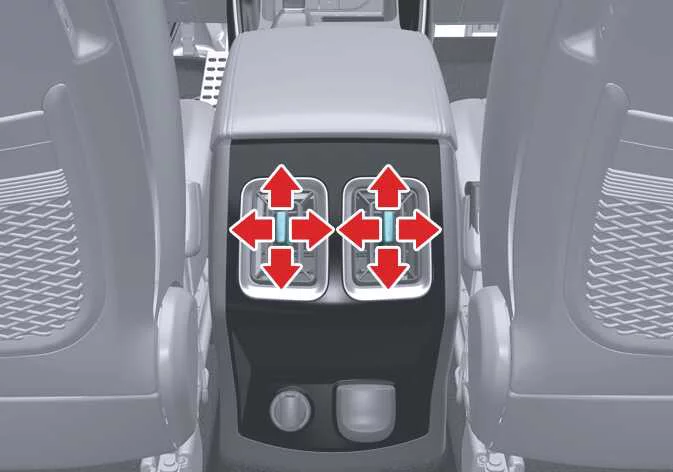
You can easily adjust the precise orientation and direction of any individual vent’s airflow using the integrated vent control lever as illustrated.
Temperature control
Turn the temperature control knob clockwise to progressively increase the cabin temperature or counterclockwise to decrease the climate temperature to your preferred level.
When configured to the absolute lowest temperature setting, the air conditioning compressor will operate continuously to deliver maximum cooling power.
Changing temperature scale
To switch the active temperature unit display scale seamlessly between Celsius and Fahrenheit, press and hold the AUTO button for at least 3 seconds while simultaneously pressing the OFF button.
The digital instrumentation display will immediately toggle from Fahrenheit to Celsius or vice versa. Please note that if the vehicle battery is fully discharged or physically disconnected during maintenance, the climate temperature scale will automatically reset to the default Celsius setting.
Controlling air intake


Select between fresh external air or recirculated cabin airflow depending on driving conditions, outside air quality, and personal preference.
To change the active air intake mode, press the desired physical control button on the dashboard cluster.
Recirculated air intake
Air originating from inside the vehicle cabin is drawn continuously through the integrated heating and cooling system, where it is rapidly conditioned and recirculated.
External air intake
Fresh ambient air enters the vehicle from the outside cowls and is filtered, heated, or cooled accordingly before entering the passenger compartment.
Controlling fan speed
-
Use the dedicated fan speed control knob to select and set the desired blower intensity.
-
To change the fan speed, turn the temperature control knob clockwise to increase the fan speed or counterclockwise to decrease the fan speed.
-
To turn the fan speed control OFF entirely, press the fan speed control knob or turn the fan speed control knob all the way to the left position.
Air conditioning (A/C)
-
To turn the A/C system ON, press the designated A/C button. The integrated indicator light will illuminate to confirm operation.
-
To turn the A/C system OFF, simply press the button again.
3rd row air conditioning A/C
To operate the auxiliary 3rd row air conditioning control system in your Kia Sorento:
-
You can conveniently operate the 3rd row A/C directly from the front row control panel. Changing the front row’s fan speed automatically adjusts the third row’s fan speed accordingly. To turn the 3rd row A/C OFF after turning the front row A/C OFF, press the 3rd row A/C button again.
-
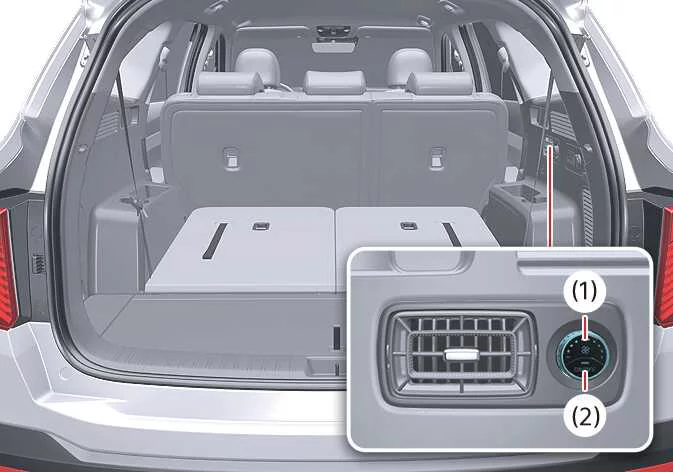
You can also operate the 3rd row A/C separately using the dedicated control buttons located in the 3rd row seating area. The 3rd row A/C indicator button on the front row control panel will accurately reflect any adjustments you make using the rear control buttons.
-
You have full flexibility to control the 3rd row A/C fan speed independently using the dedicated 3rd row fan speed control knob.
 Checking the amount of air conditioner (A/C) refrigerant and compressor lubricant
Insufficient refrigerant levels within the system significantly reduce the overall cooling and heating performance of
your Kia Sorento. Conversely, overfilling the refrigerant circuit also advers ...
See also:
Cylinder Head Components
1. Cylinder head
2. Intake OCV (Oil Control Valve)
3. Exhaust OCV (Oil Control Valve)
4. MLA
5. Retainer lock
6. Retainer
7. Valve spring
8. Valve stem seal
9. V ...
IMS Power Seat Control Inspection
1.
With the power seat switch in each position, make sure that continuity
exists between the terminals below. If continuity is not as specified,
replace the power seat ...
Safety chains
Always establish a secure secondary connection using heavy-duty safety chains between your Kia Sorento and the
trailer. Cross the safety chains in an X-pattern underneath the trailer tongue so th ...