
 Kia Sorento: Main Crash Pad Assembly Repair Procedures
| Removal |
| 1. |
Recover refrigerant by using the refrigerant recovery/recycling/charging machine.
(Refer to Air conditioning System - "Refrigerant
Recovery/Recycling/Charging/Vacuum/Leak Test")
|
| 2. |
Loosen the coolant drain plug, and drain the coolant.
(Refer to Cooling System - "Coolant")
|
| 3. |
Remove the battery assembly.
(Refer to Engine Electrical System - "Battery")
|
| 4. |
Remove the front seat.
(Refer to Seat (Front) - "Front Seat Assembly")
|
| 5. |
Remove the front pillar trim.
(Refer to Interior Trim - "Front Pillar Trim")
|
| 6. |
Remove the center pillar lower trim.
(Refer to Interior Trim - "Center Pillar Trim")
|
| 7. |
Remove the crash pad driver's side lower garnish.
(Refer to Crash Pad - "Crash Pad Garnish")
|
| 8. |
Remove the crash pad center panel.
(Refer to Crash Pad - "Crash Pad Center Panel")
|
| 9. |
Remove the Particulate Matter (PM) sensor.
(Refer to Heating, Ventilation and Air Conditioning - "PM
Sensor")
|
| 10. |
Remove the cluster unit.
(Refer to Body Electrical System - "Cluster Unit")
|
| 11. |
Remove the Connected Car Navigation Cockpit (ccNC).
(Refer to Body Electrical System - "Connected Car Navigation
Cockpit (ccNC)")
|
| 12. |
Remove the front midrange and center speaker.
(Refer to Body Electrical System - "Speaker")
|
| 13. |
Remove the front wiper motor.
(Refer to Body Electrical System - " Wiper Motor")
|
| 14. |
Remove the accelerator pedal module.
(Refer to Engine Control/Fuel System - "Accelerator
Pedal")
|
| 15. |
Remove the powernet domain controller.
(Refer to Body Electrical System - "PowerNet Domain
Controller")
|
| 16. |
Lower the steering column after removing the nuts and through-bolt.
(Refer to Steering System - "Steering Column Assembly")
|
| 17. |
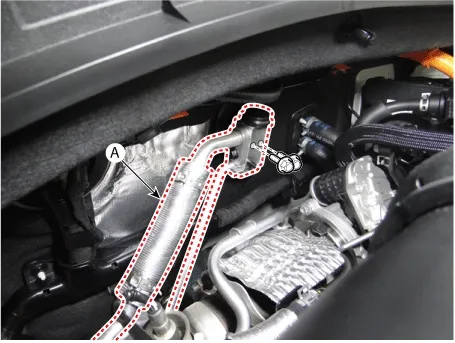
Separate the expansion valve (A) after removing the bolts.
|
| 18. |
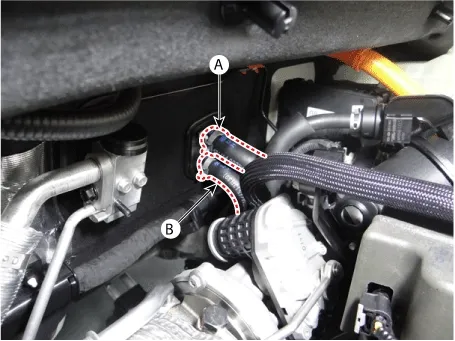
Separate the heater core inlet (A) and outlet (B) hoses.
|
| 19. |
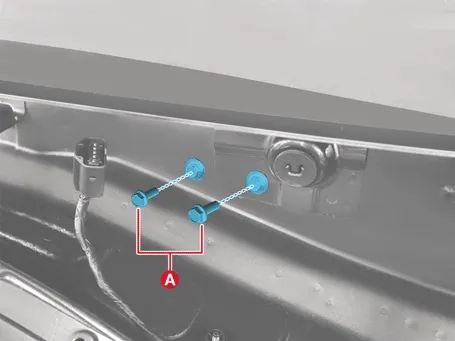
Remove the dash panel cowl cross bar through-bolts (A).
|
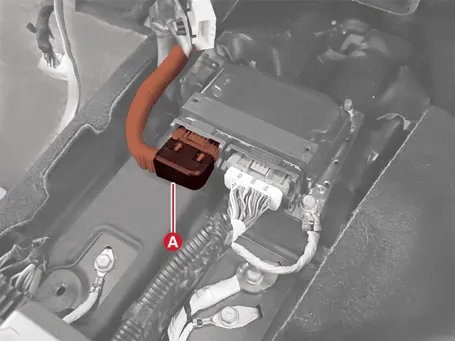
| 20. |
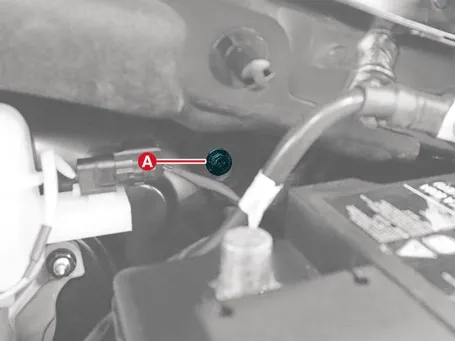
Disconnect the airbag system control module connector (A).
|
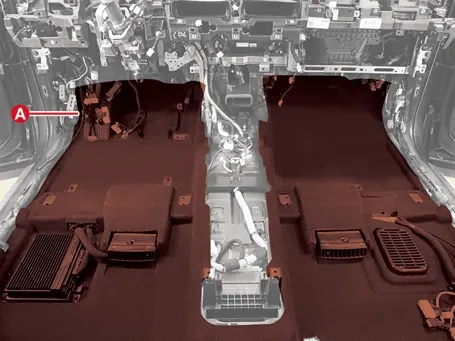
| 21. |
Separate the floor carpet (A).
|
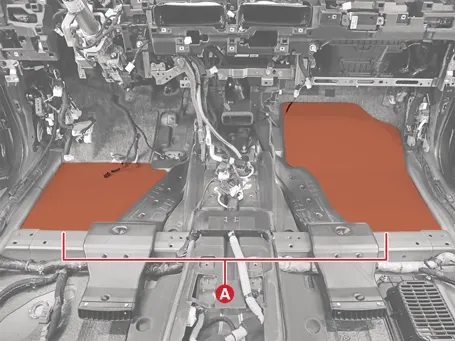
| 22. |
Remove the floor pad (A).
|
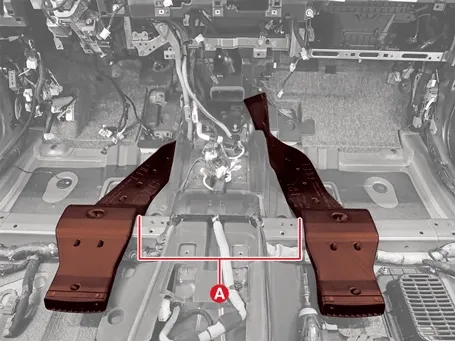
| 23. |
Remove the floor duct (A).
|
| 24. |
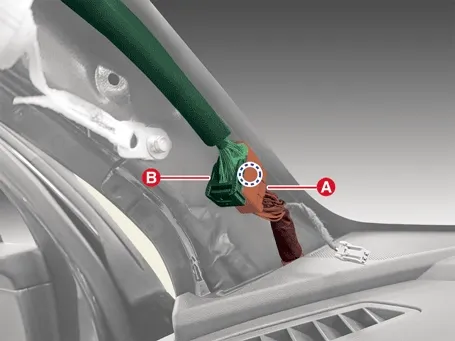
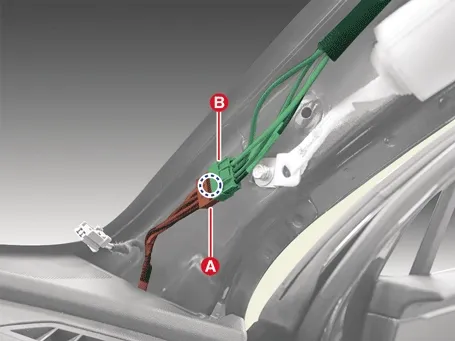
Separate the roof wiring (A) after disconnecting the roof trim connector (B).
[Driver's side]
[Passenger's side]
|


| 25. |
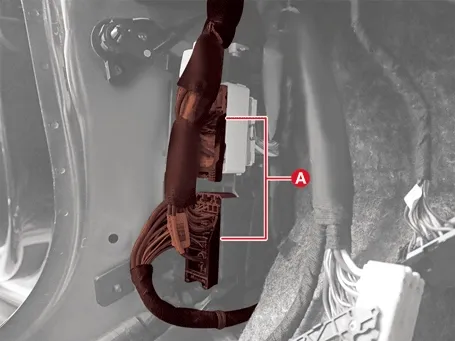
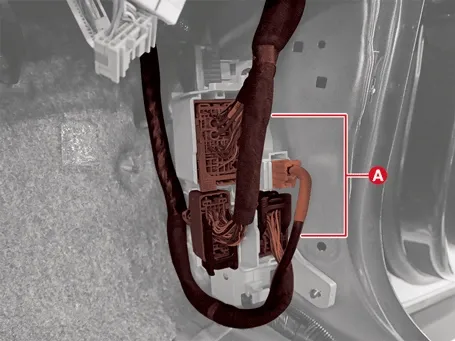
Disconnect the multi box connector (A).
[Driver's side]
[Passenger's side]
|
| 26. |
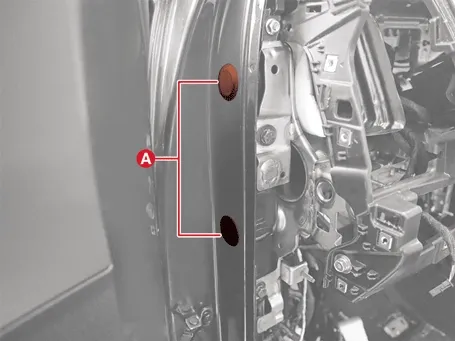
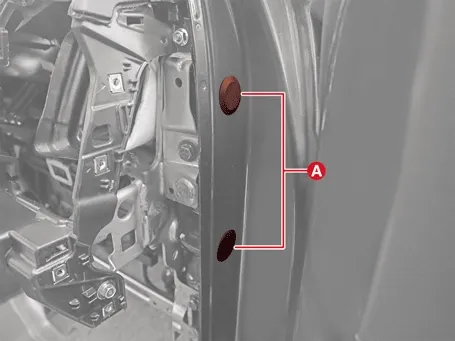
Remove the hole plug (A).
[Driver's side]
[Passenger's side]
|
| 27. |
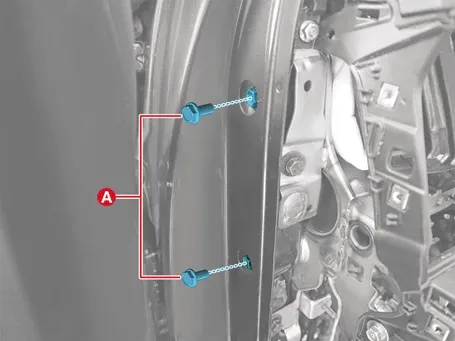
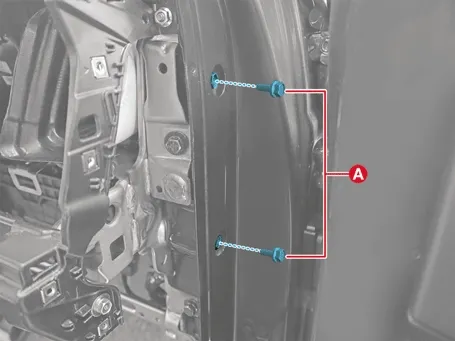
Remove the cowl cross bar side through-bolts (A).
[Driver's side]
[Passenger's side]
|
| 28. |
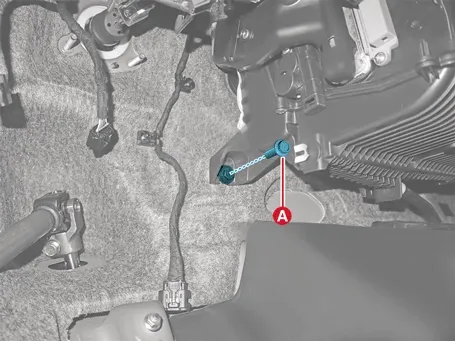
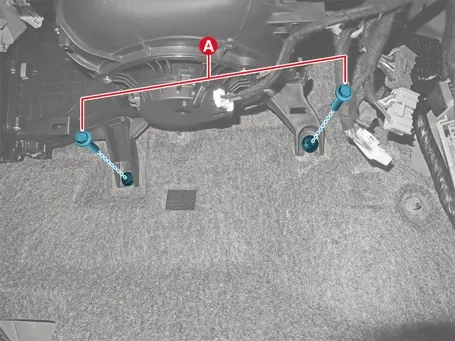
Remove the heater and blower unit lower bolt (A).
[Driver's side]
[Passenger's side]
|
| 29. |
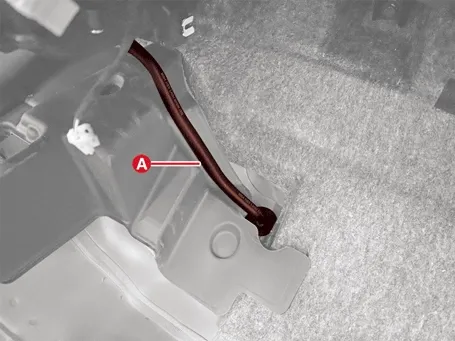
Separate the drain hose (A).
|
| 30. |
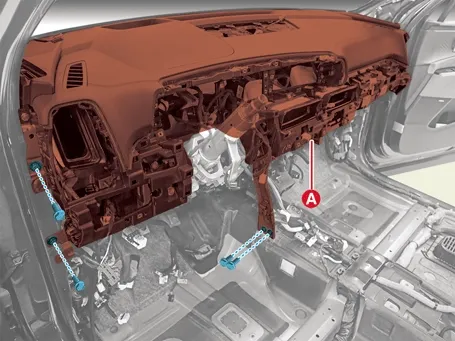
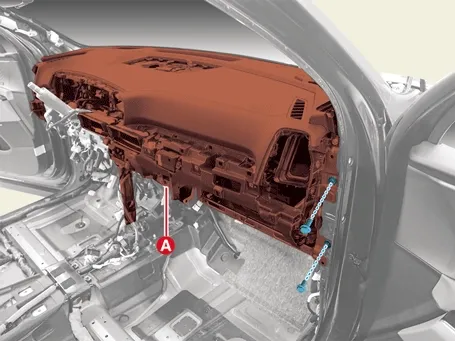
Remove the crash pad, heater and blower unit (A) from the body at the same time after removing the bolts.
[Driver's side]
[Passenger's side]
|
| 31. |
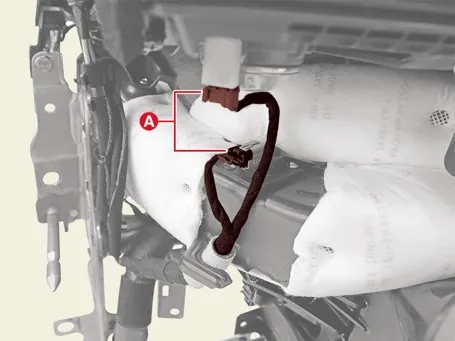
Disconnect the crash pad connector (A).
|
| 32. |
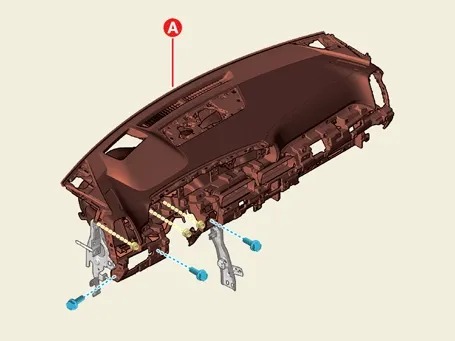
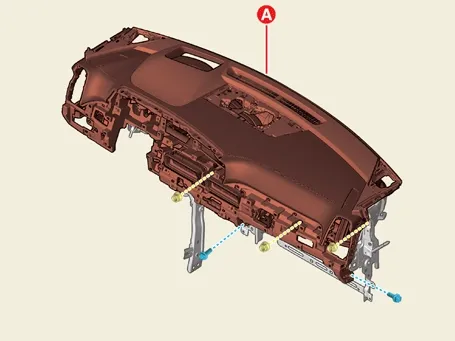
Remove the main crash pad assembly (A) after removing the screws and bolts.
|
| 33. |
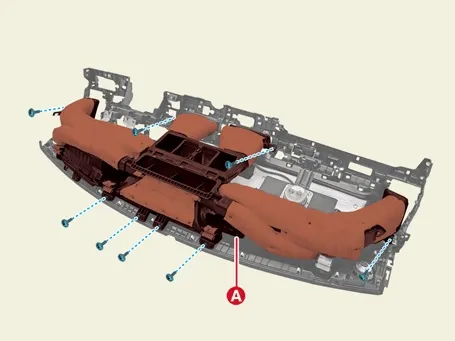
Remove the crash pad duct (A) after removing the screws.
|
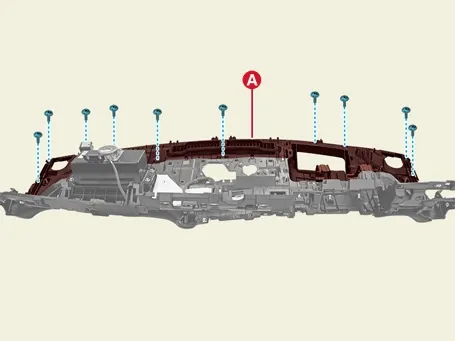
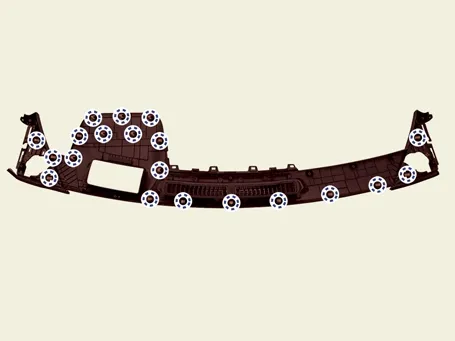
| 34. |
Remove the crash pad top cover (A) after removing the screws.
|
| Installation |
| 1. |
Install in the reverse order of removal.
|
 Crash Pad Center Panel Repair Procedures
 Cowl Cross Bar Assembly Repair Procedures
See also:
Winter driving
Severe weather conditions in the winter result in greater wear and other problems.
To minimize the problems of winter driving, you should follow these suggestions:
Snowy or icy conditions
To driv ...
Shark-fin antenna. USB port
Shark-fin antenna
The aer ...
Owner maintenance. Owner maintenance schedule
The following detailed checklists outline essential vehicle checks and technical inspections that should be performed routinely by the owner or an authorized Kia dealer at the indicated intervals to h ...
Manuals list
- Kia Sorento MQ4 2021-2026 Owners Manual
- Kia Sorento XM 2011-2015 Owners Manual
- Kia Sorento XM 2011-2015 Service Manual
