
 Kia Sorento: Lighting control
The light switch on the Kia Sorento features dedicated headlight and position lamp settings.
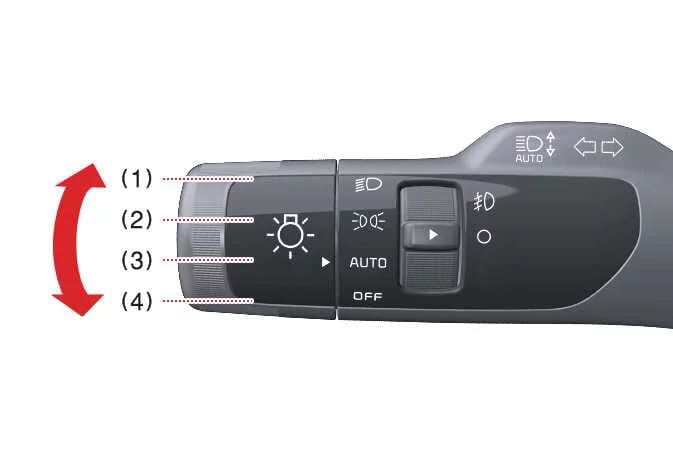
|
|
To operate the lights, turn the knob at the end of the control lever to one of the following settings:
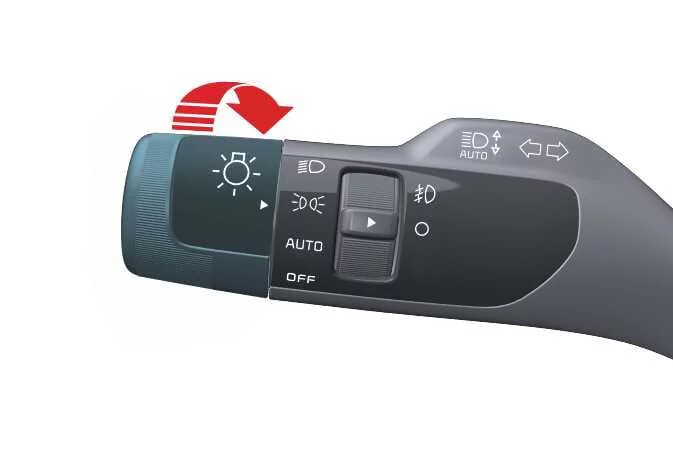
|
When the light switch is in the lamp position, the front position lamp, taillight, and the license plate lamp will turn ON.
Headlight (Low Beam)
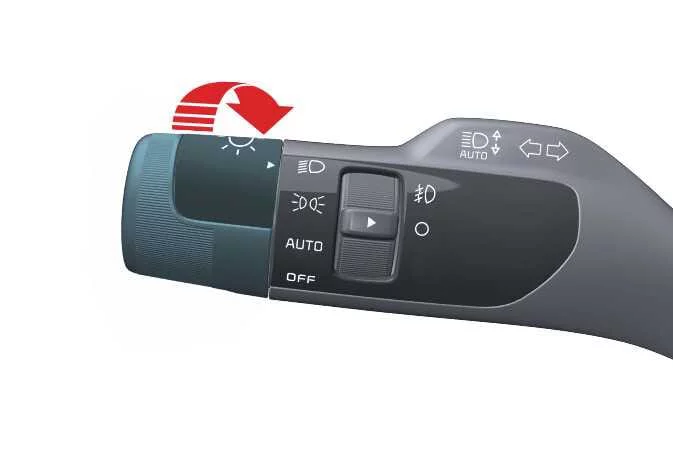
|
When the light switch is in the headlight position, headlight (low beam), taillight and license plate lamp will turn ON.
TIP
The ENGINE START/STOP button must be in the ON position to turn on the headlights.
Auto light
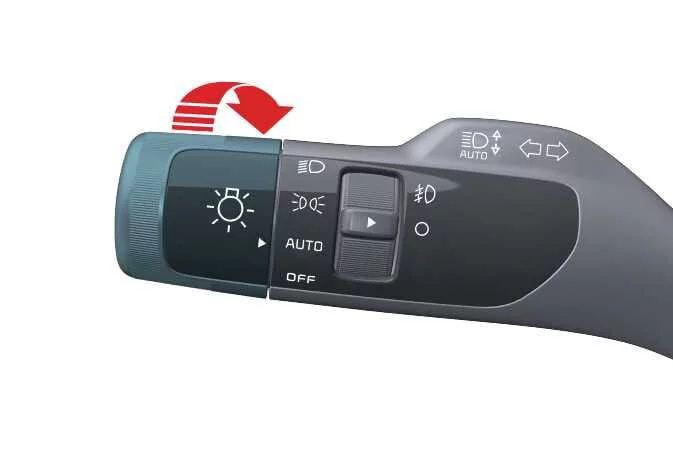
|
When the light switch is in the AUTO light position, the taillights and headlights will turn ON or OFF automatically depending on the amount of ambient light.
Light switch settings| Setting | Result |
|---|---|
|
Position lamp and taillight 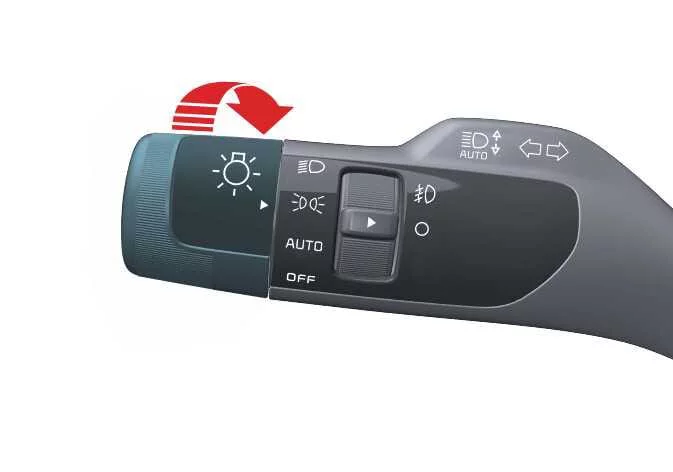
|
Front position lamp, taillights, and license plate lamp are ON. TIP The ENGINE START/STOP button must be ON to turn on the headlights. |
Headlight (low beam) 
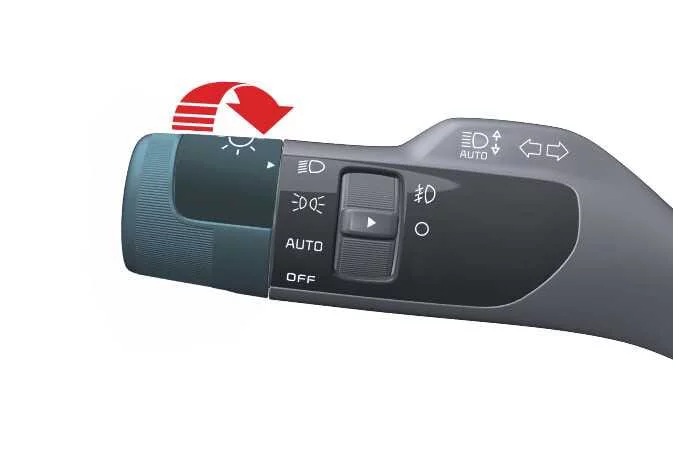
|
Low beam headlight, taillight, and license plate lamp are ON. |
AUTO light
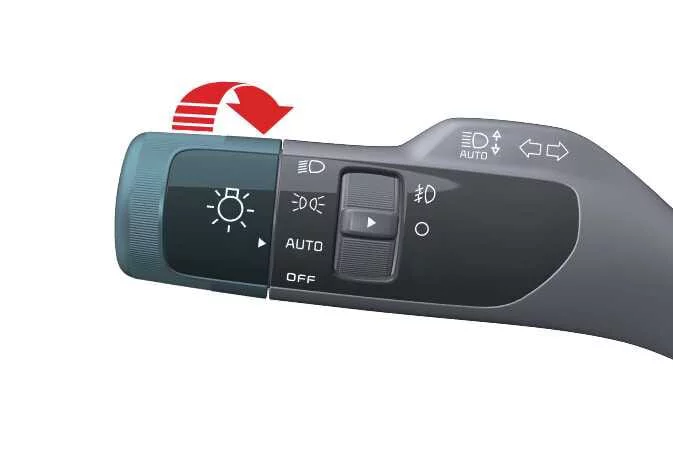
|
Taillights and headlights turn ON or OFF automatically depending on the amount of ambient light. |

NOTE
-
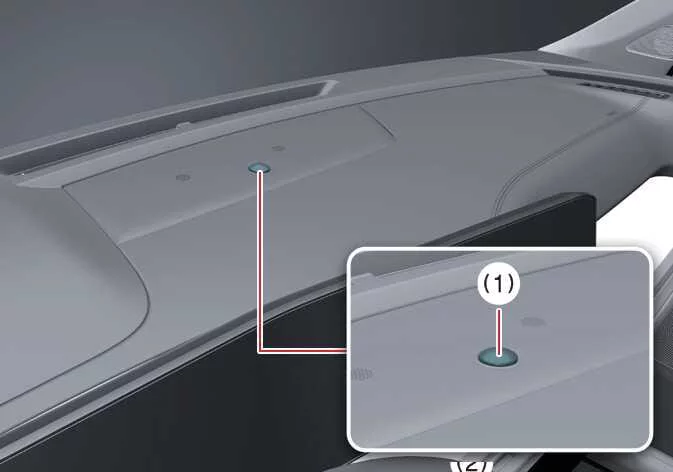
For optimal AUTO light setting performance, never place anything over the sensor (1) located on the instrument panel.
-
Do not clean the sensor with a window cleaner, as it may leave a thin film that could interfere with sensor operation.
-
If your vehicle has a window tint or other metallic coating on the front windshield, the AUTO light system may not work properly.
 Daytime running light (DRL): (if equipped)
The DRL can make it easier for others to see the front of your Kia Sorento during the day.
The DRL can be helpful in many different driving conditions, especially after dawn and before sunset.
The D ...
 High beam operation
To turn on the high beam headlights, push ...
See also:
BJ Boot Components
1. BJ assembly
2. BJ circlip
3. BJ boot band
4. BJ boot
5. Dynamic damper band
6. Dynamic damper
7. Shaft
8. TJ boot band
9. TJ boot
10. Spider assembly
...
Driving with a trailer
Towing a trailer requires a certain amount of experience. Before setting out
for the open road, you must get to know your trailer. Acquaint yourself with the
feel of handling and braking with the ad ...
Quarter Fixed Glass Installation
1.
With a putt knife, scrape the old adhesive smooth to a thickness
of about 2mm (0.08 in.) on the bonding surface around the entire quarter
fixed glass flange.
...