 Kia Sorento: Installation
Tool Name / Number
|
Illustration
|
Description
|
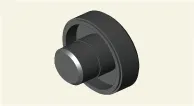
Oil seal installer
09452 - 26100
|
|
Used for transaxle case and housing oil seal installation [2WD]
Used for transaxle case oil seal
installation [AWD]
(Used with the handle)
|
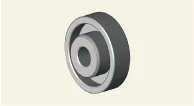
Oil seal installer
09453 - 2W100
|
|
Used for transaxle housing oil seal installation [AWD]
(Used with the handle)
|
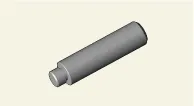
Handle
09231 - H1100
|
|
Used for installing differential oil seal
Used with the installer (09452-26100)
|
| 1. |
Make sure that the torque converter is properly assembled.
| (1)
|
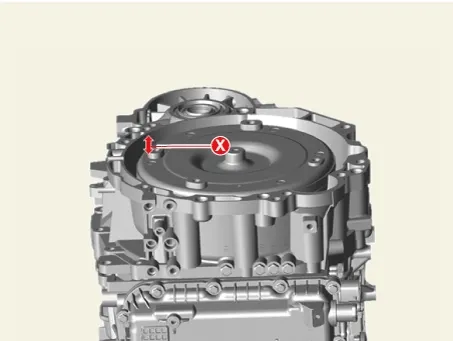
With the torque converter facing upwards, check the depth from the converter housing surface to the
torque converter.
[Correct assembly]
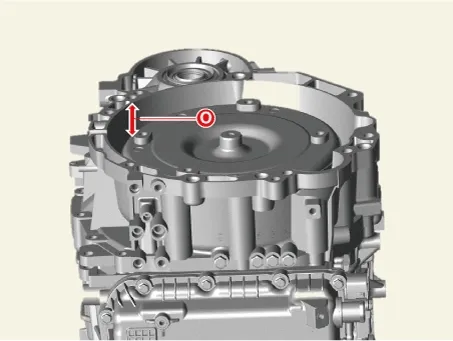
[Incorrect assembly]
|
| (2)
|
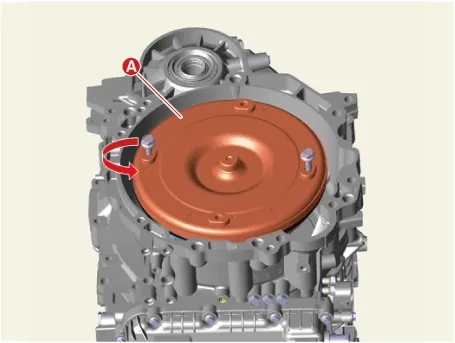
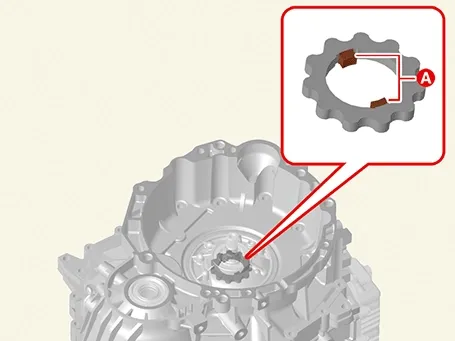
If the torque converter protrudes, rotate the torque converter (A) using transaxle mounting bolts
to fit into the oil pump key.
|
•
|
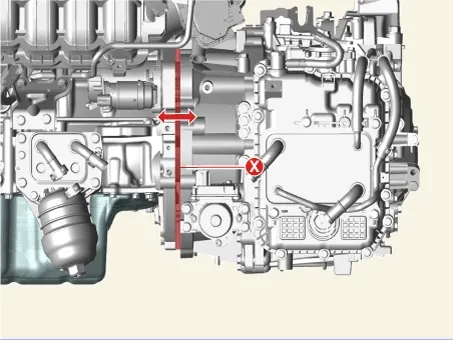
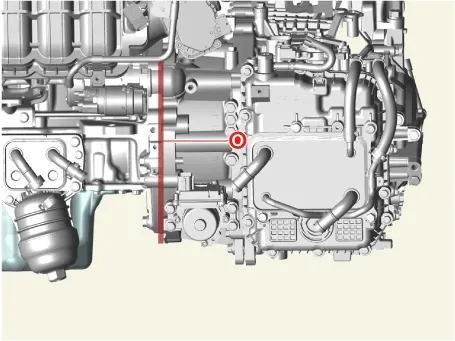
When the torque converter is not normally assembled and the engine and the
automatic transaxle are combined, a gap occurs between the engine block and the torque
converter housing. If a gap occurs, remove the automatic gearbox and reassemble the
torque converter in accordance with the oil pump key.
Torque converter incorrect assembly
Torque converter correct assembly
|
|
•
|
If the bolt is tightened while there is a gap, it can cause damage on the key (A)
of oil pump gear. In this case, replace the automatic transaxle assembly after
removing the mounting bolts.
|
|
|
|
| 2. |
When reinstalling or installing a new automatic transaxle, separate the tasks as shown below.
When reinstalling the automatic transaxle
| (1)
|
If the differential oil seal is damaged and oil is leaking, replace the oil seal with a new one.
Item
|
SST
|
Installer
|
Handle
|
Used for transaxle case and housing oil seal installation [2WD]
|
09452 - 26100
|
09231 - H1100
|
Used for transaxle case oil seal installation (AWD)
|
09452 - 26100
|
Used for transaxle housing oil seal installation [AWD]
|
09453 - 2W100
|
|
|
| (2)
|
Install in the reverse order of removal.
|
| (3)
|
Check that the shift lever and manual control lever are placed in the "N" position.
|
| (4)
|
If ATF leakage occurs during transaxle removal, replenish the ATF, and check the level.
(Refer to Hydraulic System - "Fluid")
|
| (5)
|
Refill the engine coolant.
(Refer to Engine Mechanical System - "Coolant")
|
| (6)
|
Clear the diagnostic trouble codes (DTC) using the KDS.
|
Disconnecting the battery negative terminal will not clear the DTC.
|
|
When installing a new automatic transaxle
| (1)
|
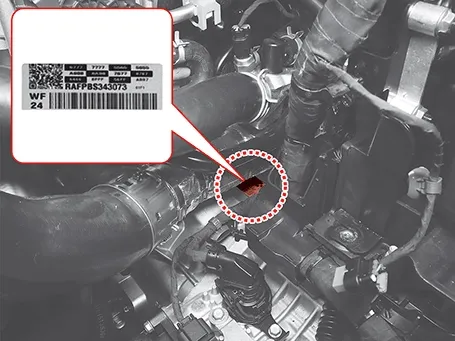
Check the oil pressure characteristics of the automatic transaxle.
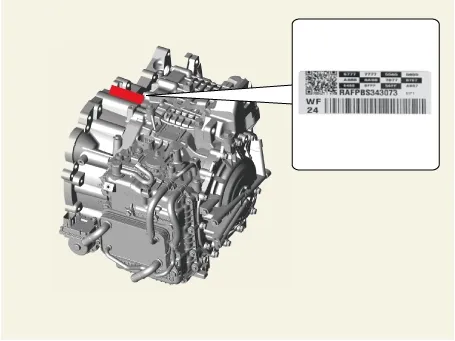
|
It is difficult to check after installing the automatic transaxle, so make a note before
installing it.
|
|
| (2)
|
Install in the reverse order of removal.
|
| (3)
|
Check that the shift lever and manual control lever are placed in the "N" position.
|
| (4)
|
New automatic transaxle is already filled with the specified amount of ATF. For this reason, it is
not necessary to refill and check the ATF.
|
| (5)
|
Clear the diagnostic trouble codes (DTC) using the KDS.
|
Disconnecting the battery negative terminal will not clear the DTC.
|
|
| (6)
|
Perform the resetting automatic transaxle adaptive values using the KDS.
(S/W Management → Automatic Transaxle → Resetting Auto T/A Values)
|
Refer to the KDS screen for operating conditions and details.
|
|
| (7)
|
Perform the oil pressure characteristics input procedure using the KDS.
(S/W Management → Automatic Transaxle → Oil-pressure Characteristics Input)
|
Refer to the KDS screen for operating conditions and details.
|
|
| (8)
|
Perform the TCM adaptive values learning procedure.
(Refer to Automatic Transaxle Control System -
"Adjustment")
|
|
Special Service Tool
Tool Name / Number
Illustration
Description
Engine support fixture (bar)09200 - 3N000...
See also:
AC Inverter Oultet Removal
1.
Disconnect the negative (-) battery terminal.
2.
Remove the rear console cover.
(Refer to Body - "Console")
...
Output Speed Sensor Removal
1.
Remove the valve body assembly.
(Refer to Hydraulic System - "Valve Body")
2.
Disconnect the input & output speed senso ...
Audio system
✽ NOTICE
If you install an after market HID head lamp, your vehicle ...



 Removal
 Hydraulic System
