
 Kia Sorento: Back-up Lamp Repair Procedures
Kia Sorento (MQ4, 2021-2026) Service Manual / Body Electrical System / Lighting System / Back-up Lamp Repair Procedures
| Removal |
Back-up Lamp
| 1. |
Remove the rear bumper beam assembly.
(Refer to Body - "Rear Bumper Assembly")
|
| 2. |
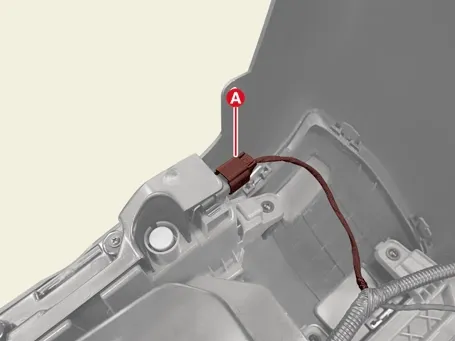
Disconnect the back up lamp connectors (A).
|
| 3. |
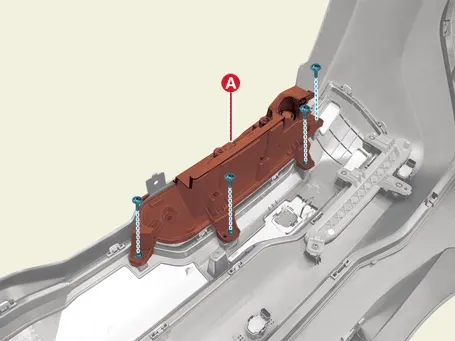
Remove the back-up lamp (A) after removing the screws.
|
Rear Reflector
| 1. |
Remove the rear bumper assembly.
(Refer to Body - "Rear Bumper Assembly")
|
| 2. |
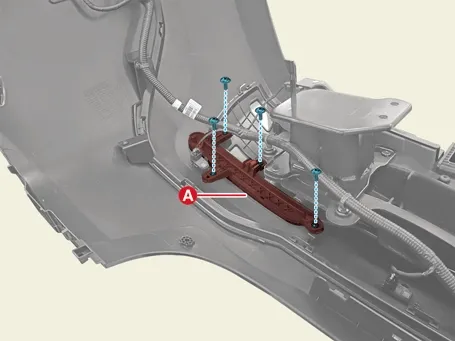
Remove the rear reflector (A) after removing the screws.
|
| Installation |
| 1. |
Install in the reverse order of removal.
|
| Replacement |
| Bulb |
| 1. |
Disconnect the battery negative ( - ) terminal.
|
| 2. |
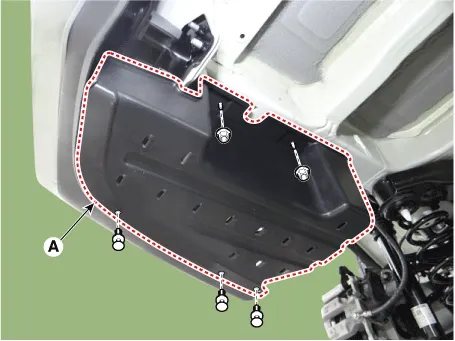
Remove the rear bumper side under cover (A) after removing the fasteners and nuts.
|
| 3. |
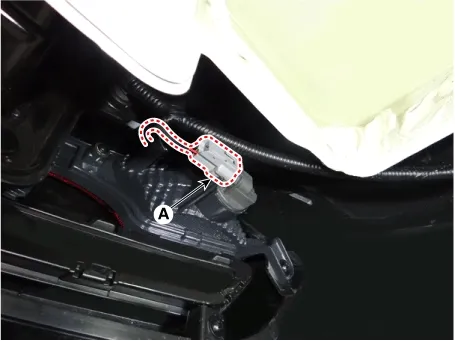
Disconnect the back up lamp connectors (A).
|
| 4. |
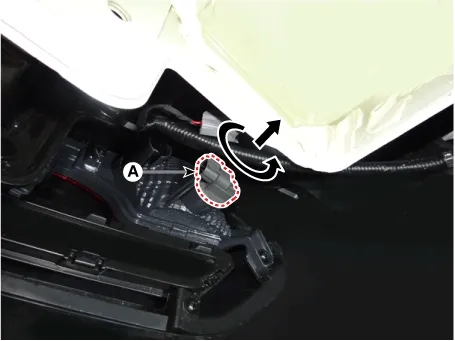
Remove the back-up lamp socket (A) by turning it in the direction of the arrow.
|
| 5. |
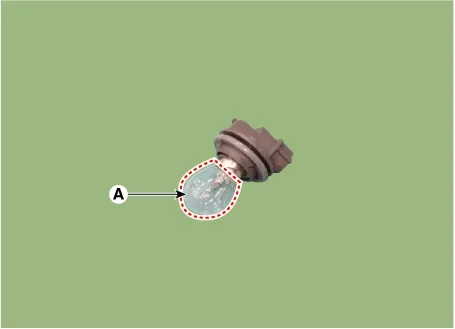
Replace the back up lamp bulb (A).
|
Specification
Item
Type
Bulb capacity (W)
Front
Headlamps
A type
High Beam
LED...
 Specification
Removal
1.
Disconnect the battery negative ( - ) terminal.
2.
Remove the cargo lamp lens (A).
...
 Cargo Lamp Repair Procedures
See also:
Gauges. Transmission shift indicator
Gauges
The precision instrument gauges on your Kia Sorento provide real-time operational data, displaying vehicle velocity,
engine performance metrics, fuel status, and thermal conditions to kee ...
Quarter Fixed Glass Installation
1.
With a putt knife, scrape the old adhesive smooth to a thickness
of about 2mm (0.08 in.) on the bonding surface around the entire quarter
fixed glass flange.
...
Manuals list
- Kia Sorento MQ4 2021-2026 Owners Manual
- Kia Sorento XM 2011-2015 Owners Manual
- Kia Sorento XM 2011-2015 Service Manual

Copyright © www.ksmanual.com 2014-2026 - 0.0568