 Kia Sorento: Oil hydraulic Motor(Actuator) Installation
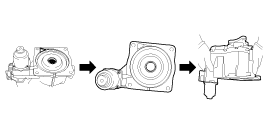
Second Generation XM (2011-2026) / Kia Sorento XM 2011-2026 Service Manual / 4 Wheel Drive (4WD) System / Coupling Assembly / Oil hydraulic Motor(Actuator) Installation
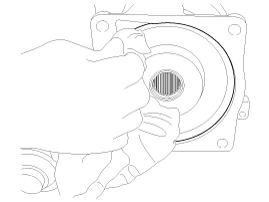
| 1. |
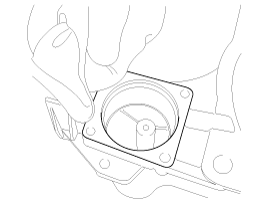
Before installation, wipe the surface with a clean cloth.
|
| 2. |
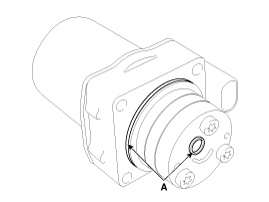
Check the O-rings (A) of the new hydraulic motor (actuators).
|

| 3. |
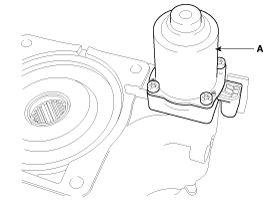
Tighten the bolts after install the hydraulic motor (actuators).
|
| 4. |
Wipe the flowed oil to around the surface with a clean cloth.
|
| 5. |
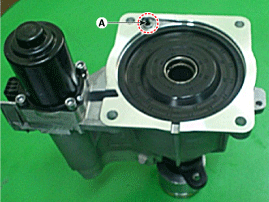
Install the coupling assembly.
(Refer to Coupling Assembly - "Direct Electro Hydraulic Actuator
Coupling")
|
 Oil hydraulic Motor(Actuator) Removal
1.
Remove the coupling assembly.
(Refer to Coupling Assembly - "Direct Electro Hydraulic Actuator
Coupling")
2.
Keep goin ...
 Pressure Sensor Description
The 4WD ECU makes a Motor Pump(Actuator) turn round for generating an
oil pressure. And then it presses a multiple disk clutch and transfers the generated
torque into rear wheels. Its torque ...
See also:
Condenser Replacement
1.
Recover the refrigerant with a recovery/recycling/charging station.
2.
Disconnect the negative (-) battery terminal.
3.
...
Crash Pad Components
1. Main crash pad assembly
2. Crash pad side cover [LH]
3. Crash pad side cover [RH]
4. Center fascia panel
5. Crash pad lower panel
6. Reinforce panel
...
Manual transaxle (If equipped)
Manual transaxle operation
The manual transaxle has 6 forward gears.
This shift pattern is imprinted on the shift knob. The transaxle is fully synchronized
in all forward gears so shifting to eit ...
Categories
- Home
- First Generation
- Second Generation
- Kia Sorento XM 2011-2026 Owners Manual
- Kia Sorento XM 2011-2026 Service Manual

Copyright ® www.ksmanual.com 2014-2026