 Kia Sorento: Oil hydraulic Motor(Actuator) Installation
Second Generation XM (2011-2026) / Kia Sorento XM 2011-2026 Service Manual / 4 Wheel Drive (4WD) System / Coupling Assembly / Oil hydraulic Motor(Actuator) Installation
| 1. |
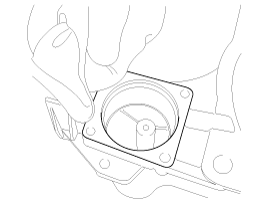
Before installation, wipe the surface with a clean cloth.
|
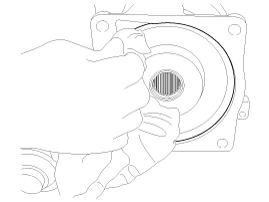
| 2. |
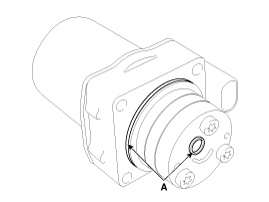
Check the O-rings (A) of the new hydraulic motor (actuators).
|

| 3. |
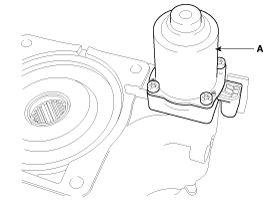
Tighten the bolts after install the hydraulic motor (actuators).
|
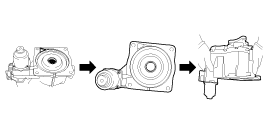
| 4. |
Wipe the flowed oil to around the surface with a clean cloth.
|
| 5. |
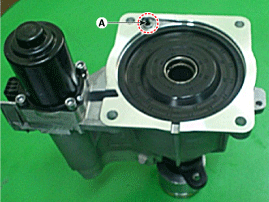
Install the coupling assembly.
(Refer to Coupling Assembly - "Direct Electro Hydraulic Actuator
Coupling")
|
 Oil hydraulic Motor(Actuator) Removal
1.
Remove the coupling assembly.
(Refer to Coupling Assembly - "Direct Electro Hydraulic Actuator
Coupling")
2.
Keep goin ...
 Pressure Sensor Description
The 4WD ECU makes a Motor Pump(Actuator) turn round for generating an
oil pressure. And then it presses a multiple disk clutch and transfers the generated
torque into rear wheels. Its torque ...
See also:
Hazard Lamp Switch Removal
ŌĆó
Put on gloves to protect your hands.
...
Master Cylinder Installation
1.
Installation is the reverse of removal.
2.
After installation, bleed the brake system.
(Refer to Brake system - "Brake system B ...
Description
The charging system included a battery, an alternator with a built-in
regulator, and the charging indicator light and wire.
The Alternator has eight built-in diodes, each rectifying AC curre ...
Categories
- Home
- First Generation
- Second Generation
- Kia Sorento XM 2011-2026 Owners Manual
- Kia Sorento XM 2011-2026 Service Manual

Copyright ® www.ksmanual.com 2014-2026