 Kia Sorento: Cooling Fan Removal and Installation
Second Generation XM (2011-2024) / Kia Sorento XM 2011-2024 Service Manual / Engine Mechanical System / Cooling System / Cooling Fan Removal and Installation
| Cooling Fan Assembly |
| 1. |
Disconnect the battery terminals.
|
| 2. |
Remove the air cleaner assembly.
(Refer to Intake And Exhaust System - "Air Cleaner")
|
| 3. |
Remove the under cover.
(Refer to Engine And Transaxle Assembly - "Engine Room Under Cover")
|
| 4. |
Remove the front bumper cover.
(Refer to Body - "Front Bumper cover")
|
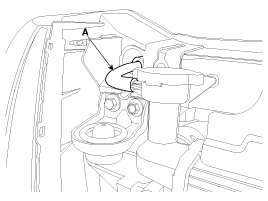
| 5. |
Disconnect the over flow hose (A) from the radiator.
|
| 6. |
Remove the air intake shield (A) after loosening the screws (B).
|
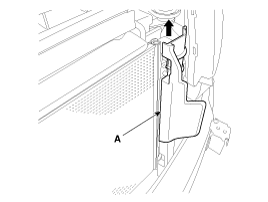
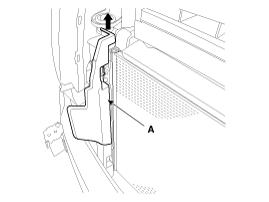
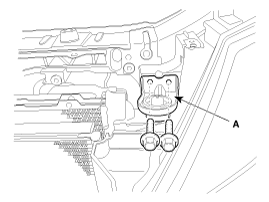
| 7. |
Remove the side air guard (A).
[LH]
[RH]
|
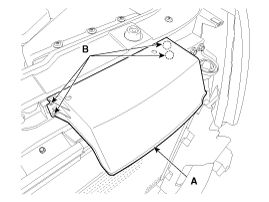
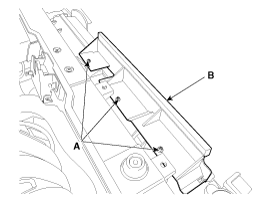
| 8. |
Remove the upper air guard(B) after loosening the mounting screws (A).
|
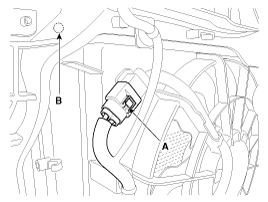
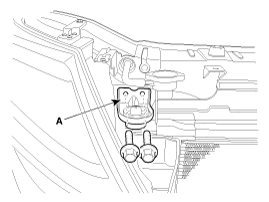
| 9. |
Disconnect the cooling motor connector (A).
|
| 10. |
Remove the cooling fan assembly mounting bolts (B).
[LH]
[RH]
|
| 11. |
Remove the A/C high pressure pipe bracket mounting bolt (A).
|
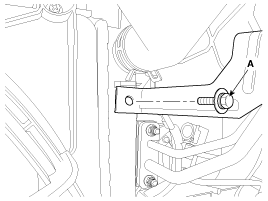
| 12. |
Remove the upper bracket (A).
[LH]
[RH]
|
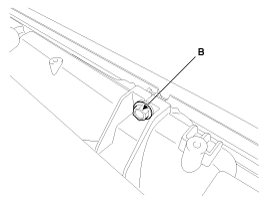
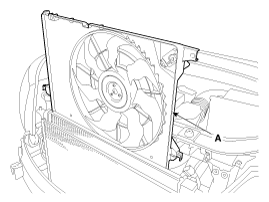
| 13. |
Loosen the cooling fan mounting bolts and then disconnect the cooling
fan assembly (A) from radiator.
|
| 14. |
Install in the reverse order of removal.
|
Cooling Fan Control Module
| 1. |
Remove the LH wheel guard.
(Refer to Body - "Front Wheel Guard")
|
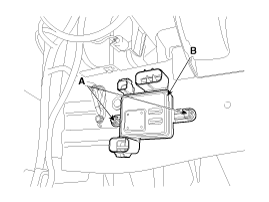
| 2. |
Disconnect the cooling fan control module connector (A).
|
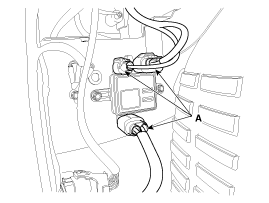
| 3. |
Remove the module (B) after loosening the bolts (A).
|
| 4. |
Install in the reverse order of removal.
|

 Cooling Fan Disassembly
1.
Remove the cooling fan (A) after loosening the screws (B) from the cooling
assembly.
Tightening torque:
2.7 ~ 3.2 N.m (0.28 ~ 0.3 ...
See also:
Block Diagram
...
Manual heating and air conditioning
The heating and cooling system can be controlled manually by pressing buttons
or turning knob(s) other than the AUTO button. In this case, the system works sequentially
according to the order of but ...
Schematic Diagrams
MDPS Circuit Diagram
Harness Connector
Connector
Pin no
Pin name
Battery
1
Battery +
2
Battery -
Vehicl ...
Copyright © www.ksmanual.com 2014-2024