 Kia Sorento: Valve Body Removal
Second Generation XM (2011-2024) / Kia Sorento XM 2011-2024 Service Manual / Automatic Transaxle System / Hydraulic System / Valve Body Removal
| 1. |
Remove the air duct.
(Refer to Engine Mechanical System - "Air cleaner")
|
| 2. |
Remove the battery and the battery tray.
(Refer to Engine Electrical System - "Battery")
|
| 3. |
Remove the under cover.
(Refer to Engine Mechanical System - "Engine Room Under Cover")
|
| 4. |
Drain the coolant.
(Refer to Engine Mechanical System - "Coolant")
|
| 5. |
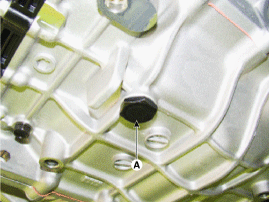
Remove the drain plug (A) and reinstall the drain plug after draining
ATF totally.
|
| 6. |
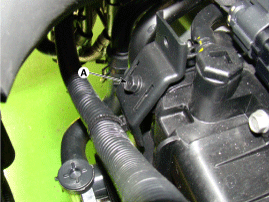
Remove the wiring bracket installation bolt (A).
|
| 7. |
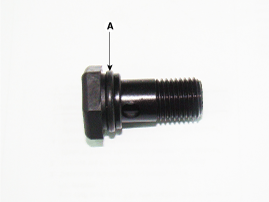
Remove the ATF Injection hole(eyebolt) (A).
|
| 8. |
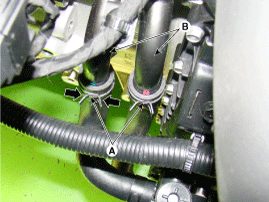
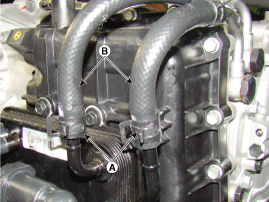
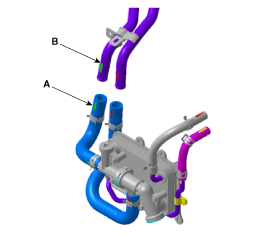
Disconnect the coolant hose (B) after removing the coolant hose
clamp (A).
|
| 9. |
Disconnect the hose (B) after removing the automatic transaxle
fluid cooler hose clamp (A).
|
| 10. |
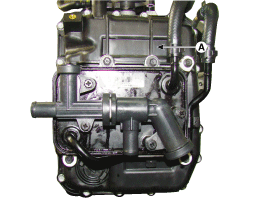
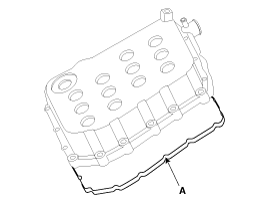
Remove the valve body cover (A).
|
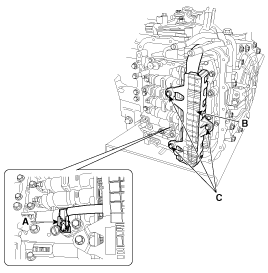
| 11. |
Remove the bolts (C) after disconnecting the solenoid valve connector
(B) and the oil temperature sensor connector (A).
|
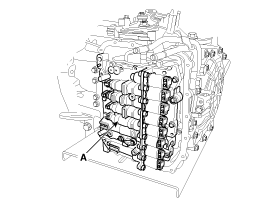
| 12. |
Remove the valve body assembly (A).
|
 Valve Body Component Location
1. Automatic transaxle
2. Valve body assembly
1. Pressure Control Valve(PCV) adjust screw
2. Solenoid valve bracket
3. Oil temperature sensor
...
 Valve Body Installation
1.
Install in the reverse order of removal.
•
...
See also:
Power windows
The ignition switch must be in the ON position for power windows to operate.
Each door has a power window switch that controls the door's window.
The driver has a power window lock button which ...
Crankshaft Damper Pulley Removal and Installation
1.
Remove the drive belt.
(Refer to Timing System - "Drive Belt")
2.
Remove the passenger engine room side cover.
(Ref ...
CVVT Oil Control Valve (OCV)
Continuous Variable Valve Timing (CVVT) system advances or retards the
valve timing of the intake and exhaust valve in accordance with the ECM control
signal which is calculated by the engine ...
Copyright © www.ksmanual.com 2014-2024

