
 Kia Sorento: Roof Trim Assembly Repair Procedures
| Removal and Installation |
| 1. |
Remove the front seat assembly.
(Refer to Seat (Front) - "Front Seat Assembly")
|
| 2. |
Remove the 2nd nad 3rd seat assembly.
(Refer to Seat (Rear) - "Rear Seat Assembly")
|
| 3. |
Remove the front pillar trim.
(Refer to Interior Trim - "Front Pillar Trim")
|
| 4. |
Remove the center pillar upper trim.
(Refer to Interior Trim - "Center Pillar Trim")
|
| 5. |
Remove the rear pillar trim.
(Refer to Interior Trim - "Rear Pillar Trim")
|
| 6. |
Remove the tailgate pillar trim.
(Refer to Interior Trim - "Tailgate Pillar Trim")
|
| 7. |
Remove the sun visor and retainer.
(Refer to Roof Trim - "Sunvisor")
|
| 8. |
Remove the assist handle.
(Refer to Roof Trim - "Assist Handle")
|
| 9. |
Remove the overhead console lamp.
(Refer to Body Electrical System - "Overhead Console
Lamp")
|
| 10. |
Remove the room lamp.
(Refer to Body Electrical System - "Room Lamp")
|
| 11. |
Remove the vanity lamp.
(Refer to Body Electrical System - "Vanity Lamp")
|
| 12. |
Remove the personal lamp.
(Refer to Body Electrical System - "Personal Lamp")
|
| 13. |
Remove the cargo lamp.
(Refer to Body Electrical System - "Cargo Lamp")
|
| 14. |
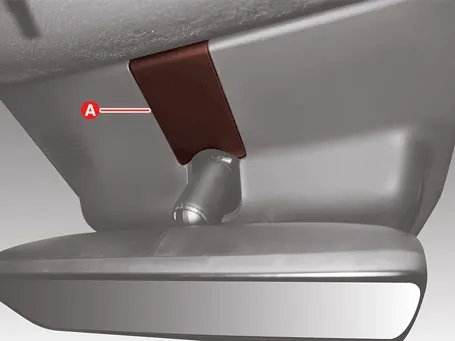
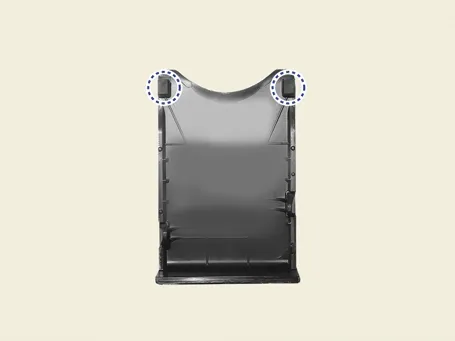
Remove the multi-sensor blanking cover (A).
|


| 15. |
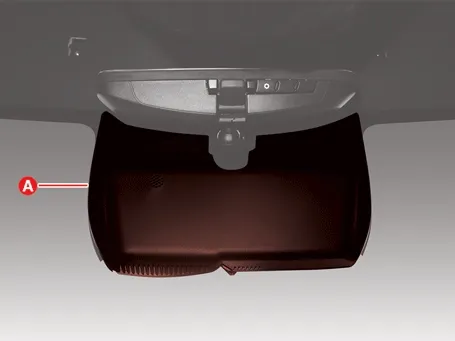
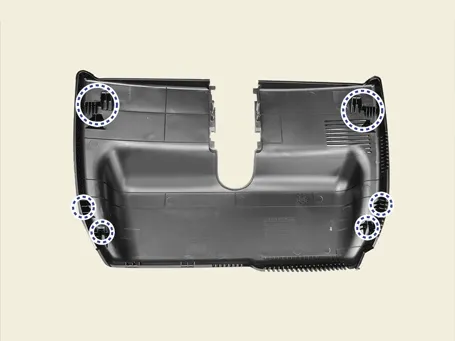
Remove the multi sensor cover (A).
|
| 16. |
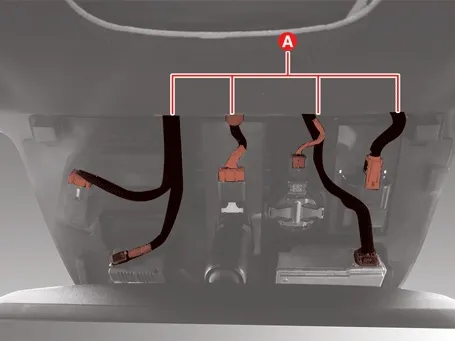
Disconnect the multi sensor connectors (A).
|
| 17. |
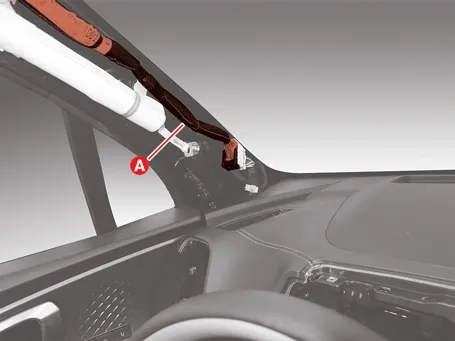
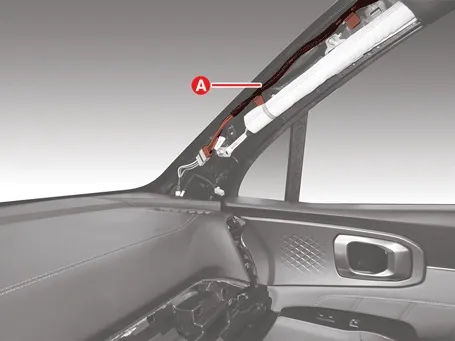
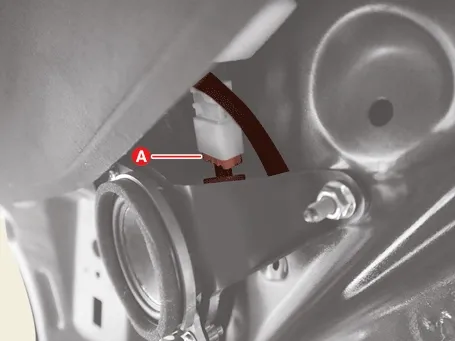
Disconnect the roof trim connectors (A).
|
| 18. |
Remove the roof trim wiring (A) after removing the clips.
|
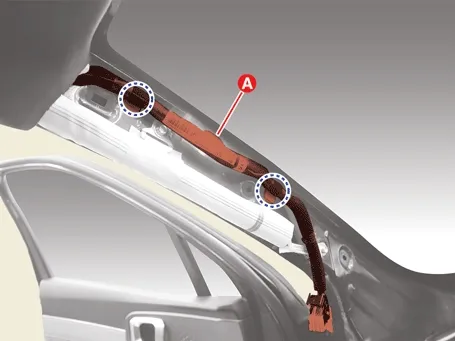
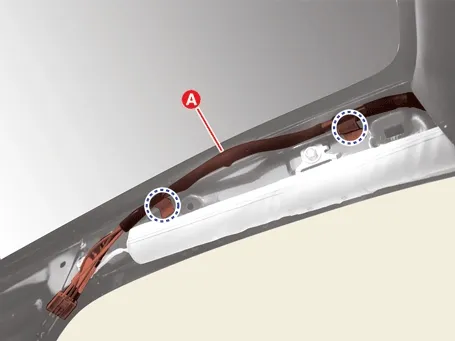
| 19. |
Remove the roof trim assembly (A) after removing the fasteners.
|
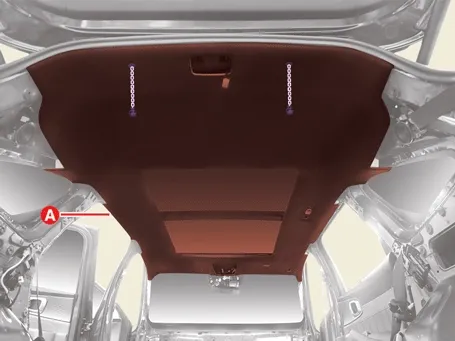
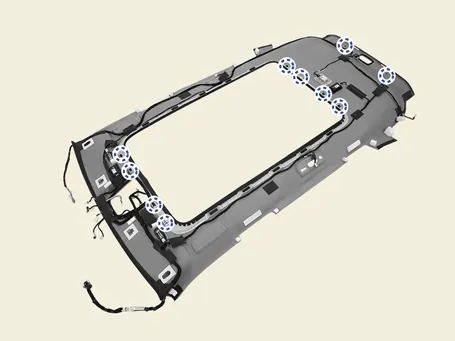
| 20. |
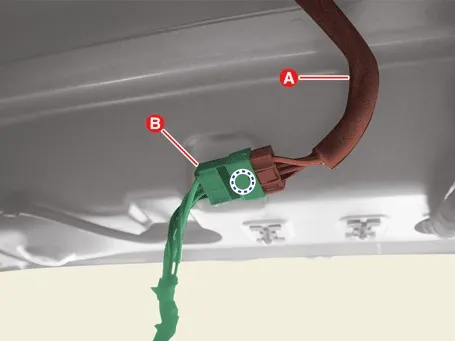
Disconnect the shark fin antenna connector (A) after removing the roof trim wiring (B).
|
| 21. |
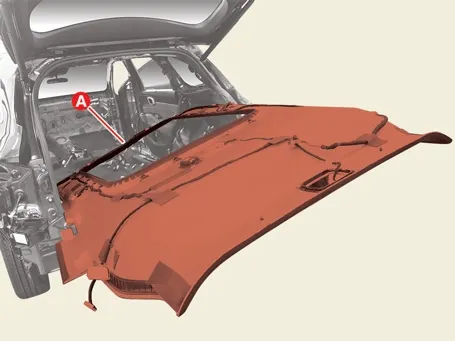
Remove the roof trim assembly (A).
|
| 22. |
Install in the reverse order of removal.
|
 Assist Handle Repair Procedures
 Seat (Front)
See also:
Front Washer Motor Inspection
Front and Rear Washer Motor
1.
With the washer motor connected to the reservoir tank, fill the
reservoir tank with water.
&nb ...
Declaration of conformity
FCC
This sophisticated electronic equipment installed in your Kia Sorento has undergone rigorous testing and proven
compliance with the stringent thresholds established for a Class B digital dev ...
Driver assistance guide
WARNING
As the operator of the vehicle, it is critical that you do not rely exclusively on the advanced Driver Assistance
Systems. These sophisticated technologies are designed to function as su ...
Manuals list
- Kia Sorento MQ4 2021-2026 Owners Manual
- Kia Sorento XM 2011-2015 Owners Manual
- Kia Sorento XM 2011-2015 Service Manual
