Kia Sorento: Rear Corner Radar Adjustment - Advanced Driver Assistance System (Driving) - Advanced Driver Assistance System (ADAS)Kia Sorento: Rear Corner Radar Adjustment

Kia Sorento (MQ4, 2021-2026) Service Manual / Advanced Driver Assistance System (ADAS) / Advanced Driver Assistance System (Driving) / Rear Corner Radar Adjustment

Adjustment
Mounting Angle Inspection
When replacing a rear corner radar bracket or rear corner radar components after a rear or side collision of a vehicle equipped with the rear corner radar system, need to check the mounting angle of the rear corner radar.
Check Before Calibration
1.
When a failure code [C270854], [C270954] occurs, check the following before performing calibration.
2.
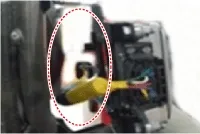
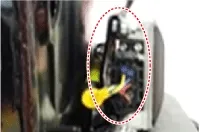
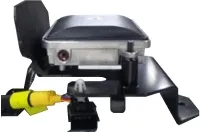
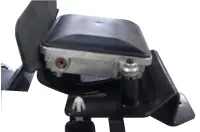
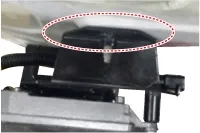
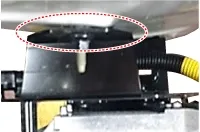
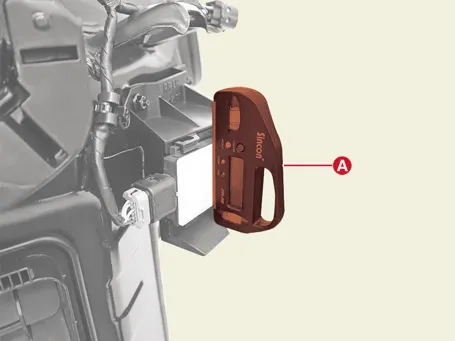
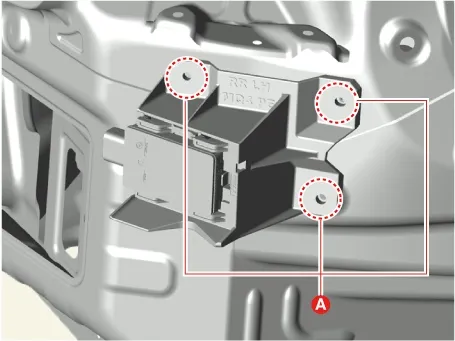
Check the vehicle condition and whether the rear corner radar or bracket is deformed (mounting angle, twisted vehicle body, etc.).
Vehicle Check
Normal
Abnormal (deformation of the bracket or bolted area)

Advanced Driver Assistance System (ADAS) — Advanced Driver Assistance System (Driving) / Rear Corner Radar / Adjustment illustration

Advanced Driver Assistance System (ADAS) — Advanced Driver Assistance System (Driving) / Rear Corner Radar / Adjustment illustration


Vehicle Check
Normal
Abnormal (deformation of the bracket or bolted area)

Advanced Driver Assistance System (ADAS) — Advanced Driver Assistance System (Driving) / Rear Corner Radar / Adjustment illustration

Advanced Driver Assistance System (ADAS) — Advanced Driver Assistance System (Driving) / Rear Corner Radar / Adjustment illustration


3.
Check the nut tightening and if there is any foreign substance.
Vehicle Check
Normal
Abnormal (deformation of the bracket or bolted area)

Advanced Driver Assistance System (ADAS) — Advanced Driver Assistance System (Driving) / Rear Corner Radar / Adjustment illustration

Advanced Driver Assistance System (ADAS) — Advanced Driver Assistance System (Driving) / Rear Corner Radar / Adjustment illustration


Note
•
If you found any problem in the rear corner radar, bracket, or nut tightening, correct the problem or replace the component. If there is no problem, mount the bumper back and perform rear corner radar calibration.
•
If a failure code is displayed or a warning lamp turns on even after performing rear corner radar calibration 5 times, replace the rear corner radar.
Special Service Tool
Tool Name / Number
Illustration
Description
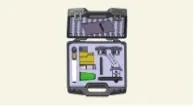
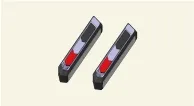
Rear Corner Radar Correction Tool Set
09958 - 3T500

Advanced Driver Assistance System (ADAS) — Advanced Driver Assistance System (Driving) / Rear Corner Radar / Adjustment / Special Service Tool illustration

Used to calibrate the rear corner radar
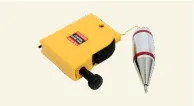
Vertical Plumb
09958 - 3T010

Advanced Driver Assistance System (ADAS) — Advanced Driver Assistance System (Driving) / Rear Corner Radar / Adjustment / Special Service Tool illustration

Used to calibrate the rear corner radar
Spirit Level
09958 - 3T070

Advanced Driver Assistance System (ADAS) — Advanced Driver Assistance System (Driving) / Rear Corner Radar / Adjustment / Special Service Tool illustration

Used to calibrate the rear corner radar
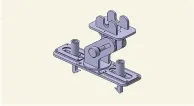
Rear Corner Radar Fixing Adaptor
09958 - 3T080

Advanced Driver Assistance System (ADAS) — Advanced Driver Assistance System (Driving) / Rear Corner Radar / Adjustment / Special Service Tool illustration

Used to calibrate the rear corner radar
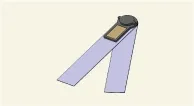
Digital Protractor
09958 - 3T090

Advanced Driver Assistance System (ADAS) — Advanced Driver Assistance System (Driving) / Rear Corner Radar / Adjustment / Special Service Tool illustration

Used to calibrate the rear corner radar
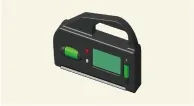
Digital Inclinometer
09958 - 3T100

Advanced Driver Assistance System (ADAS) — Advanced Driver Assistance System (Driving) / Rear Corner Radar / Adjustment / Special Service Tool illustration

Used to measure the radar vertical angle

Rear Corner Radar Installation Angle Calibration
Note
Check the items below before performing the rear corner radar calibration.
•
Inspect the tire pressure.
•
Check the wheel alignment.
•
Check the suspension for damage.
•
Check the rear bumper is deformed and damaged.
1.
Remove the rear bumper assembly.
(Refer to Body - "Rear Bumper Assembly")
2.
Perform the rear corner radar calibration by using the rear corner radar correction tool set (09958 - 3T500).
3.
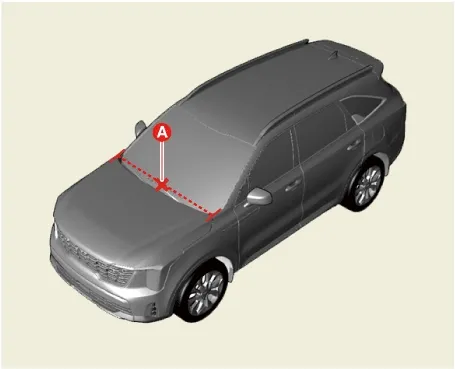
Mark the center point (A) after measuring the distance on top of the hood assembly.

Advanced Driver Assistance System (ADAS) — Advanced Driver Assistance System (Driving) / Rear Corner Radar / Adjustment / Special Service Tool illustration

4.
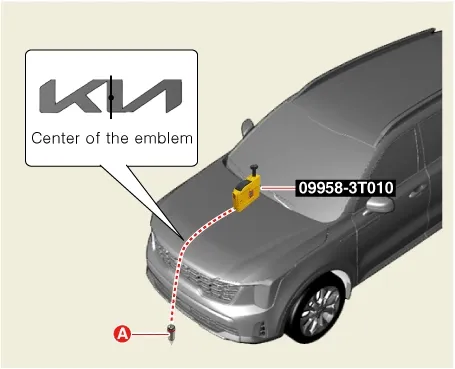
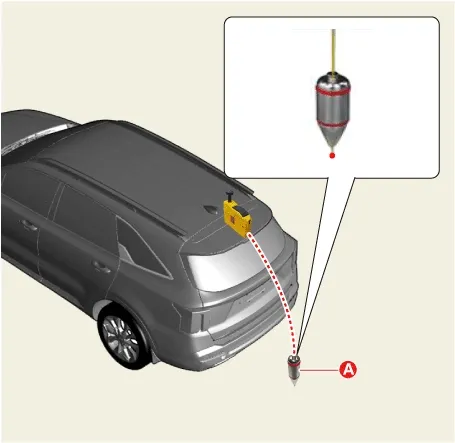
Attach a vertical plumb bob (09958 - 3T010) on the roof panel, and lower the plumb bob (A) to the ground so that it passes through the center of the emblem.

Advanced Driver Assistance System (ADAS) — Advanced Driver Assistance System (Driving) / Rear Corner Radar / Adjustment / Special Service Tool illustration

5.
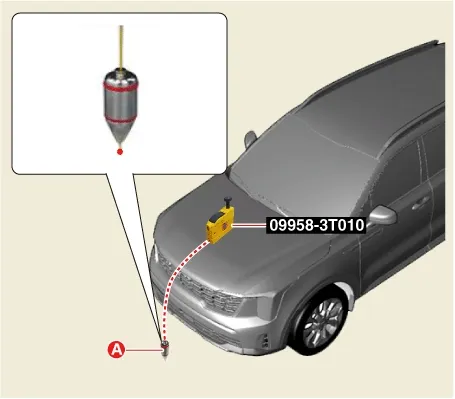
Mark the center point below the plumb bob (A).

Advanced Driver Assistance System (ADAS) — Advanced Driver Assistance System (Driving) / Rear Corner Radar / Adjustment / Special Service Tool illustration

6.
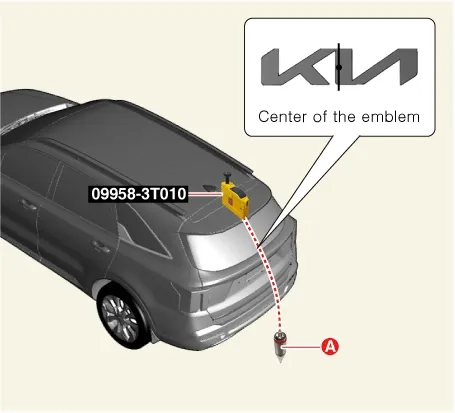
Attach a vertical plumb bob (09958 - 3T010) on the roof panel, and lower the plumb bob (A) to the ground so that it passes through the center of the emblem.

Advanced Driver Assistance System (ADAS) — Advanced Driver Assistance System (Driving) / Rear Corner Radar / Adjustment / Special Service Tool illustration

7.
Mark the center point below the plumb bob (A).

Advanced Driver Assistance System (ADAS) — Advanced Driver Assistance System (Driving) / Rear Corner Radar / Adjustment / Special Service Tool illustration

8.
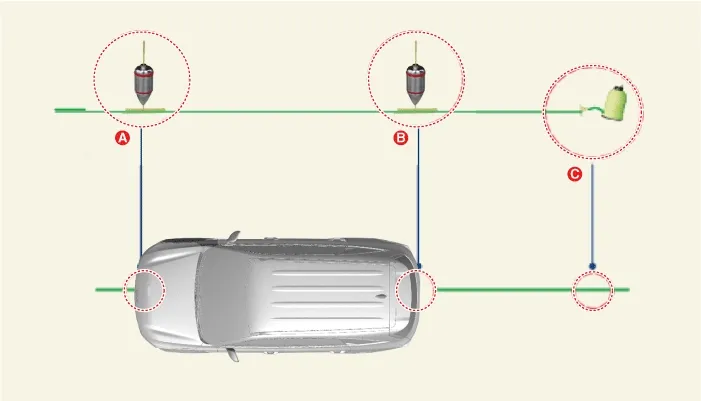
Making the center line of the vehicle using a string.
(1)
Pass the string through the bottom of the vehicle from the rear of the vehicle to the front and fix the string to the center point (A) of the front of the vehicle.
(2)
Fix the string to the point (C) about 1.5 - 2 m (4.95 - 6.6 ft) from the back of the vehicle so that it passes the rear center point (B).

Advanced Driver Assistance System (ADAS) — Advanced Driver Assistance System (Driving) / Rear Corner Radar / Adjustment / Special Service Tool illustration

9.
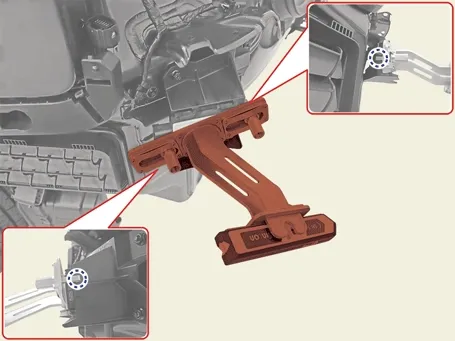
Refit the rear corner radar unit fixing adapter (special tool: 09958 - 3T080) to the rear radar unit and secure the spirit level (special tool: 09958 - 3T070).

Advanced Driver Assistance System (ADAS) — Advanced Driver Assistance System (Driving) / Rear Corner Radar / Adjustment / Special Service Tool illustration

10.
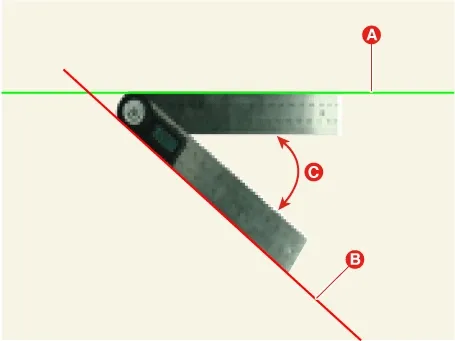
Measure the angle (C) between the center line (A) of the angle measuring and the horizontal laser beam (B) using a digital protractor (09958 - 3T090).

Horizontal angle : 34° ± 2.5°

Advanced Driver Assistance System (ADAS) — Advanced Driver Assistance System (Driving) / Rear Corner Radar / Adjustment / Special Service Tool illustration

11.
Measure the vertical angle of the rear radar using a digital horizontal system (09958 - 3T100).

Vertical angle : 87.5° ± 2.5°

Advanced Driver Assistance System (ADAS) — Advanced Driver Assistance System (Driving) / Rear Corner Radar / Adjustment / Special Service Tool illustration

Note
•
Make sure to perform horizontal zero setting before using a digital inclinometer.
•
Be careful with + / - readings when using a digital inclinometer to measure vertical angle.
12.
If the measured values deviate from the specified values, insert a washer (A) between the bracket of the rear corner radar.

Specifications
Horizontal angle : 34° ± 2.5°
Vertical angle : 87.5° ± 2.5°

Advanced Driver Assistance System (ADAS) — Advanced Driver Assistance System (Driving) / Rear Corner Radar / Adjustment / Special Service Tool illustration

13.
install the rear corner radar.
(Refer to Rear Corner Radar - "Removal")
14.
Install the rear bumper assembly.
(Refer to Body - "Rear Bumper Assembly")
Note
Make sure that there are no foreign or reflective objects on the surface of the rear corner radar before installing the rear bumper assembly.
15.
Perform the rear corner radar calibration procedures.
(S/W Management → Corner Radar → Front Corner/ Rear Corner Radar Calibration)
Information
Refer to the KDS screen for operating conditions and details
Rear Corner Radar Installation
Installation Rear Corner Radar 1. Install in the reverse order of removal. ...
See also:

Air conditioning (A/C) automatic drying: (if equipped). Smart temperature comfort control system (for driver’s seat): (if equipped)
Air conditioning (A/C) automatic drying: (if equipped) The advanced A/C automatic drying feature engineered into the Kia Sorento proactively eliminates residual condensation trapped within the a ...

Rear Hub - Carrier Disassembly
1. Remove the hub assembly mounting bolts (A-4ea) from the rear axle carrier (B). Tightening torque: 78.5 ~ 88.3N.m (8.0 ~ 9.0 ...

Defroster
CAUTION To prevent damage to the conductors bonded to the inside surface of the rear window, never use sharp instruments or window cleaners containing abrasives to clean the window. ✽ NOTIC ...

Copyright © www.ksmanual.com 2014-2026 - 0.0618