
 Kia Sorento: Fuel Line Removal and Installation
| Removal |
| Low Pressure Fuel Line [Low Pressure Delivery Pipe ↔ Fuel Tank] |
| 1. |
Release the residual pressure in fuel line.
(Refer to Fuel Delivery System - "Release Residual Pressure in Fuel
Line")
|
| 2. |
Disconnect the battery negative ( - ) terminal.
|
| 3. |
Remove the battery.
(Refer to Engine Electrical System - "Battery")
|
| 4. |
Remove the air cleaner.
(Refer to Engine Mechanical System - "Air Cleaner")
|
| 5. |
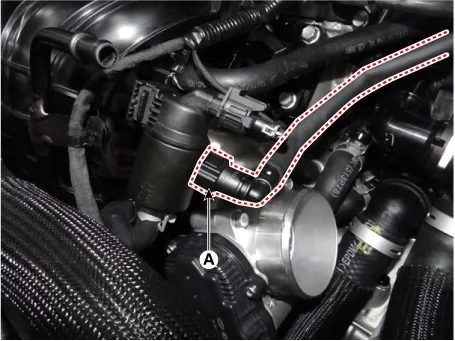
Separate the vapor quick-connector (A).
|
| 6. |
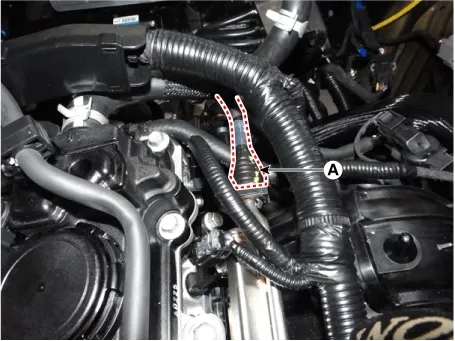
Separate the fuel injection line quick-connector (A).
|

| 7. |
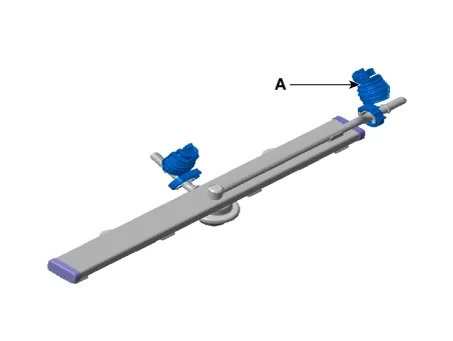
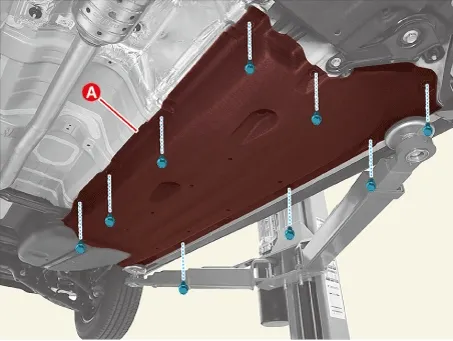
Remove the left under cover (A) after removing the bolts.
|
| 8. |
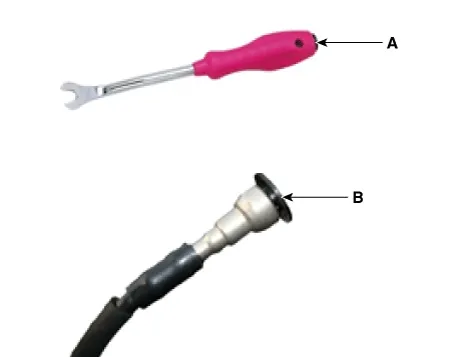
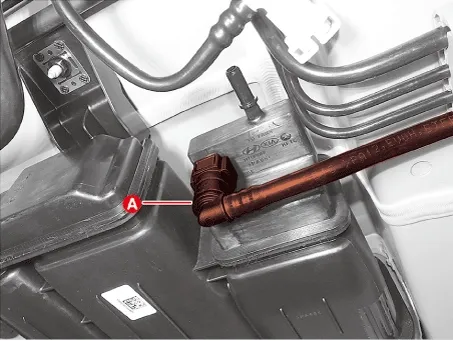
Remove the vapor tube quick-connector (A) from the canister.
|
| 9. |
Remove the fuel tank.
(Refer to Fuel Delivery System - "Fuel Tank")
|
| 10. |
Remove the fuel line from the vehicle after removing the mounting bracket.
|
| High Pressure Fuel Line [High Pressure Fuel Pump ↔ High Pressure Delivery Pipe] |
| 1. |
Release the residual pressure in fuel line.
(Refer to the Fuel Delivery System - "Release Residual Pressure in
Fuel Line")
|
| 2. |
Disconnect the battery negative ( - ) terminal.
|
| 3. |
Remove the air cleaner.
(Refer to Engine Mechanical System - "Air Cleaner")
|
| 4. |
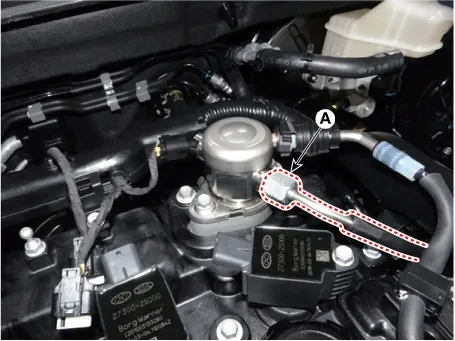
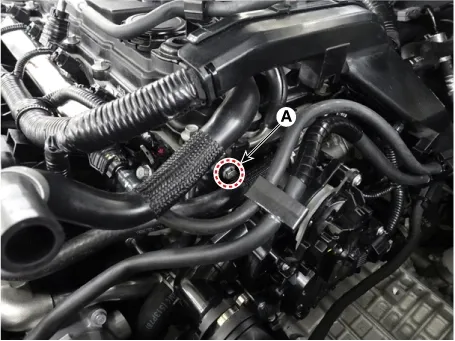
Remove the pipe flange nut (A).
|

| 5. |
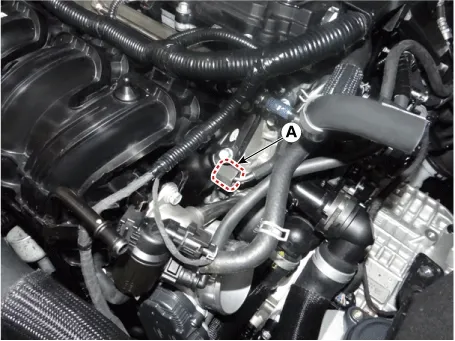
Remove the pipe flange nut (A).
|
| 6. |
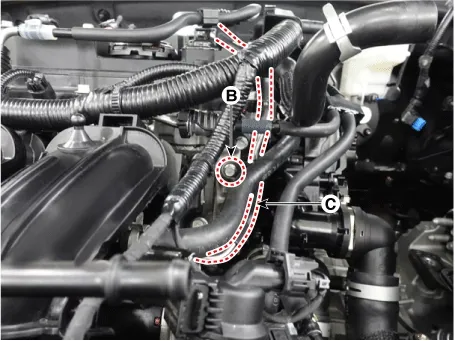
Remove the high pressure fuel pipe (C) after removing the mounting bolts (A,B).
|
| Installation |
| 1. |
Install in the reverse order of removal.
|
| 2. |
Inspect the leakage the fuel after installation.
|
 Fuel Filter Removal and Installation
 Fuel Pressure Regulator Components and Components Location
See also:
Rear Combination Lamp Repair Procedures
Removal
1.
Disconnect the battery negative ( - ) terminal.
2.
Open the rear co ...
Alternator Description
The Alternator has eight built-in diodes, each rectifying AC current to
DC current.
Therefore, DC current appears at alternator "B" terminal.
In addition, the charging voltage ...
Drive Belt Tensioner Repair procedures
Removal and Installation
Drive Belt Tensioner
1.
Remove the drive belt.
(Refer to Drive Belt System - "Drive Belt" ...
Manuals list
- Kia Sorento MQ4 2021-2026 Owners Manual
- Kia Sorento XM 2011-2015 Owners Manual
- Kia Sorento XM 2011-2015 Service Manual
