
 Kia Sorento: Front Door Latch Assembly Repair Procedures
| Removal |
| 1. |
Remove the front door module.
(Refer to Door (Front) - "Front Door Module")
|
| 2. |
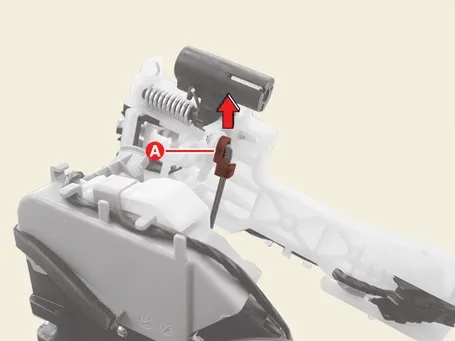
Remove the front door latch rod clip (A) by pushing it in the direction of the arrow.
|
| 3. |
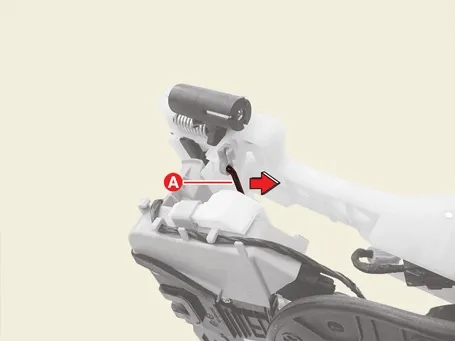
Remove the front door latch road (A) by pushing it in direction of arrow.
|
| 4. |
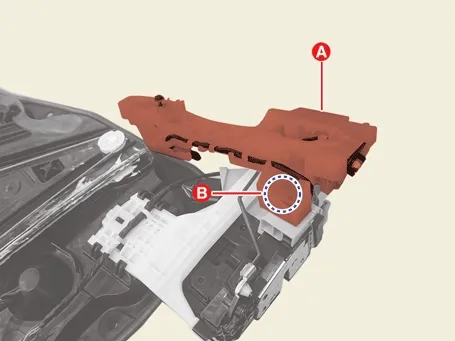
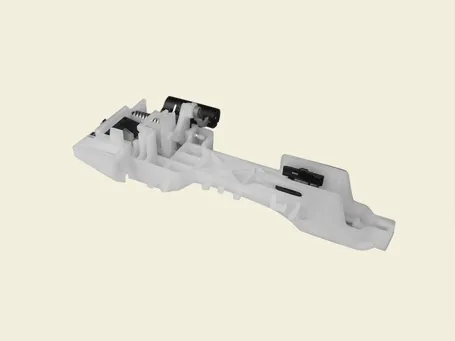
Remove the front door outside handle base (A) by pushing the lock pin (B) .
|
| 5. |
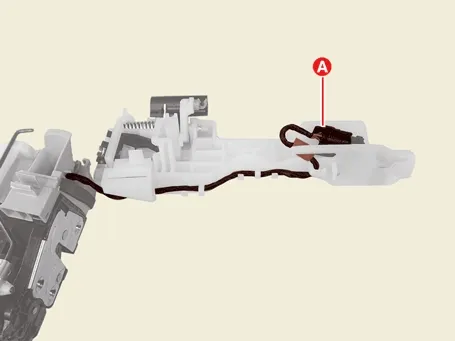
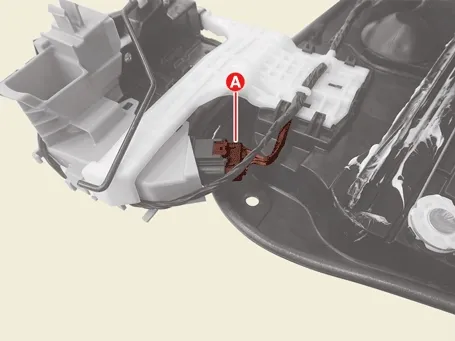
Disconnect the front door outside handle base connector (A).
|
| 6. |
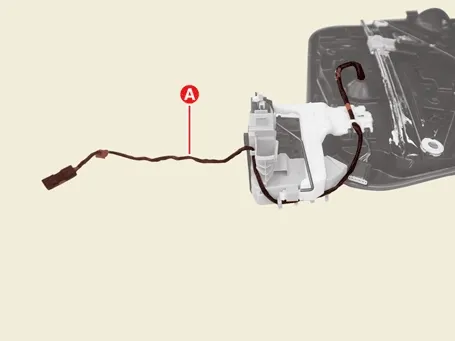
Disconnect the front door latch connector (A).
|
| 7. |
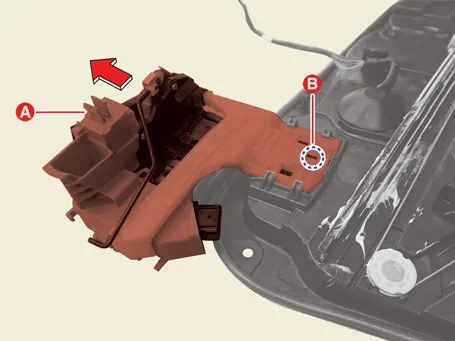
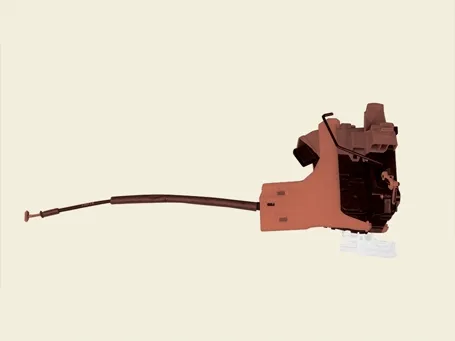
Remove the front door latch (A) in the direction of the arrow after releasing the retainer hook (B).
|
| 8. |
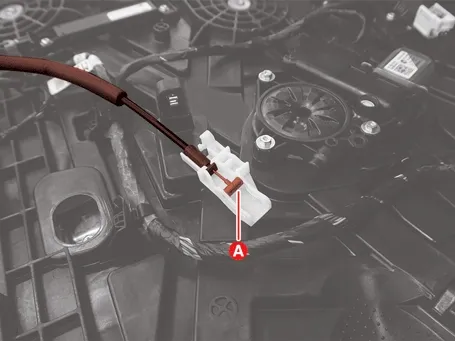
Remove the front door handle cable (A).
|
| Installation |
| 1. |
Install in the reverse order of removal.
|
 Front Door Weatherstrip Repair Procedures
 Door (Rear)
See also:
Variable Intake Solenoid (VIS) Valve Removal and Installation
Removal
1.
Disconnect the battery negative ( - ) terminal.
2.
Disconnect the V ...
ECM Problem Inspection Procedure
1.
TEST ECM GROUND CIRCUIT: Measure resistance between ECM and chassis
ground using the backside of ECM harness connector as ECM side check
point. If the problem is fo ...
Closing the tailgate
To close the tailgate, lower and push down the tailgate firmly. Make sure that
the tailgate is securely latched.
WARNING
Make sure your hands, feet and other parts of your body are safely out of
...
Manuals list
- Kia Sorento MQ4 2021-2026 Owners Manual
- Kia Sorento XM 2011-2015 Owners Manual
- Kia Sorento XM 2011-2015 Service Manual
